 �
�
�
 �
�
�
How To Install Fiberglass Fender Flares
�(specifically: how to install the MG Owners' Club "Sebring" flares)
� The British V8 Newsletter, Volume XV Issue 3, December 2007�� by: Simon Austin�
�
�
This article provides detailed description of the work involved to install �
ready-made fiberglass fenders on a sports car. The installation steps and �
techniques shown in this article apply to other styles of fiberglass fenders �
and flares, to products from other vendors, and even to installation of �
flares on other car models.�
�
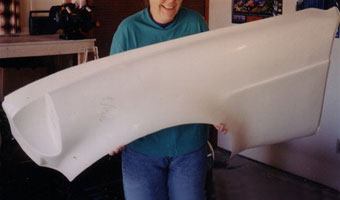
I purchased my "Sebring style" fender flare kit from the MG Owners' Club �
("MGOC") in the UK. For just over $1200 (Canadian) including shipping, the �
kit included two complete front fenders and two rear quarter-panels from the �
top of the fender down. The Sebring kit is offered in roadster or GT versions, �
and obviously I chose the roadster version, but the installation process is �
similar. (The fenders differ near the windshield "A-pillar".)�
�
�
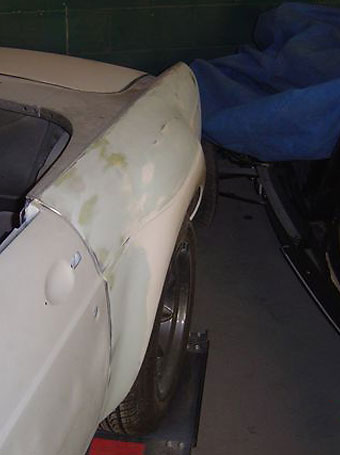
� Let's start with the rear quarter-panels, as their installation is somewhat easier � than the front fenders. Each quarter-panel was laid up against the car for sizing � and to get an idea how much fiberglass would need to be removed.�
��
�
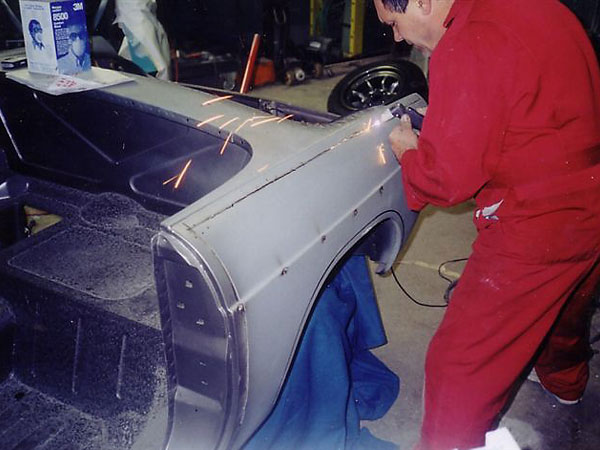
Warning: always wear eye protection when operating a plasma cutter!
�
� Since my car's body was in such good condition and since I was planning to use � its original doors, my body man and I decided to leave the steel quarters intact � where they met the door, the top of the fender and near the taillight. This � would ensure that gaps stayed true and the fender strip at the top was undisturbed. � A plasma cutter was used to remove the steel quarter panel about an inch in from � the edges.�
��
 �
�
�
� From this "template", the fiberglass quarter panel was laid against the � steel quarter. From inside the car, we just drew a line on the fiberglass panel for � future cutting.�
��
 �
�

�
� The intent of mounting the fiberglass panel to the steel panel was never to overlap � one over the other but to "butt" the two together. A metal strip would be � attached to the backside of the two surfaces and this became the "overlap". � Attaching the strip to the steel quarter was simple enough with welding. Two-part � industrial adhesive was used to attach the fiberglass panel.�
��
 �
�

�
 �
�
�
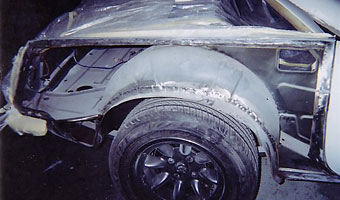
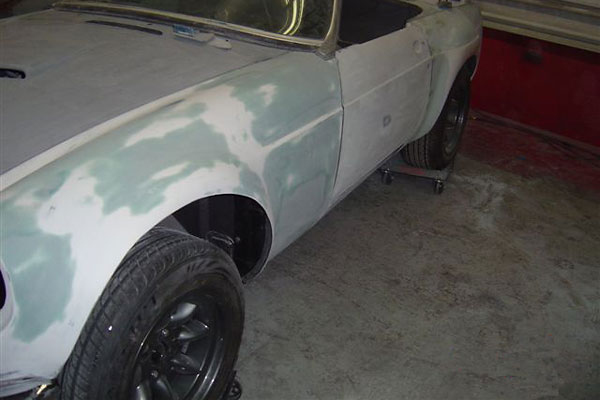
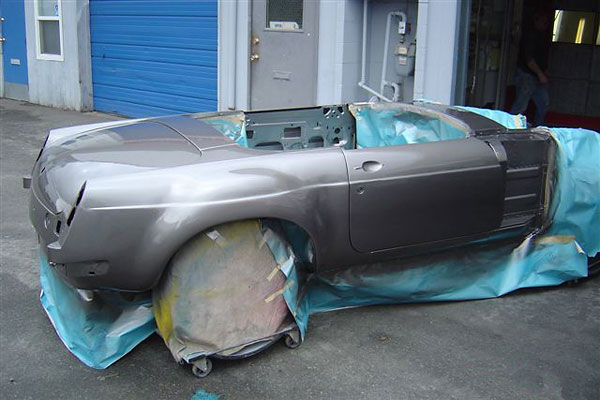
� With the rear panel "glued" in place, work began to smooth out the imperfections or � scuffs in the fiberglass panels. The area in front of the rear wheels was a particularly � bad area for getting the fiberglass smooth and some had to be removed and then rebuilt � with new cloth and resin for a finished look.�
��
�
�
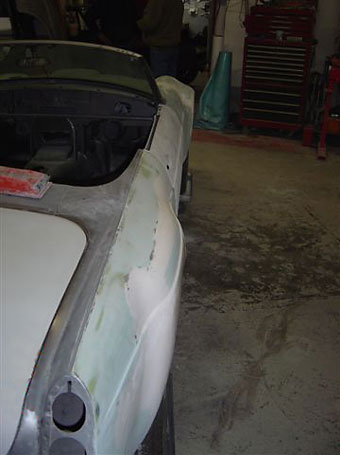
That pretty much takes care of getting the rear quarters to a "primer stage". �
�
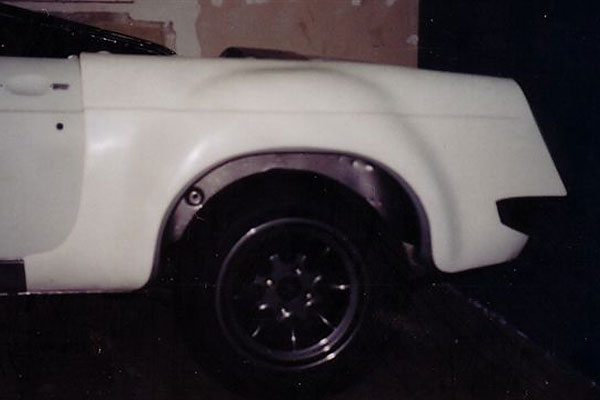
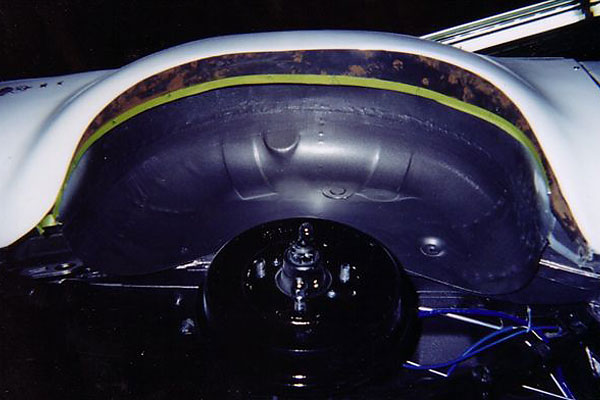
There was only one area that needed a little bit of further modification: because of �
the addition of about 3" of flared fender, there was a large gap inside �
the inner wheel arch. Here we added strips of metal, bonded to the fiberglass panel and �
welded to the metal arch. With a test drive, I discovered that the rear wheels rubbed �
(rather loudly!) on the metal inside the arch. I took the car back to my body-man and �
he removed a section of metal about 8" long inside the arch and replaced it with fiberglass, �
suitably rounded off to accommodate the tire. With about 5000 miles on the car since �
this modification, no rubbing issues have been detected.�
| �
Enjoying this article? Our magazine is funded through the generous support of readers like you! � To contribute to our operating budget, please click here and follow the instructions. � (Suggested contribution is twenty bucks per year. Feel free to give more!)� |
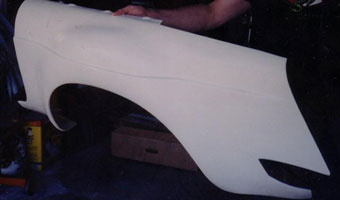
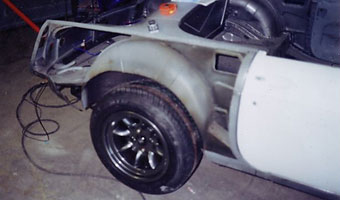
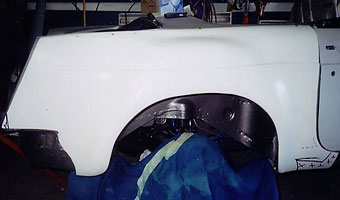
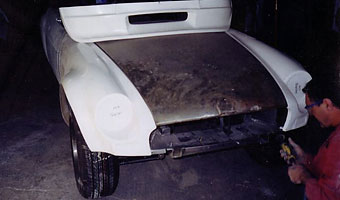
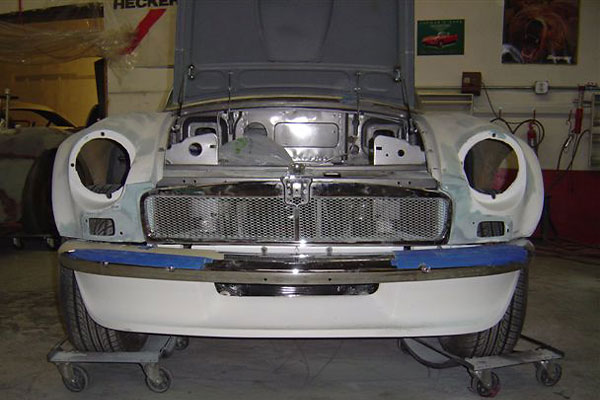
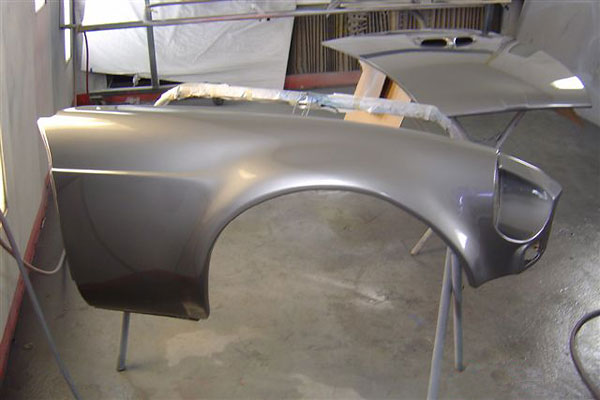
� Now let's talk about the front fenders. These presented a much more challenging project, � in that they are not the finest moulded fiberglass fenders made. Sure they look like MGB � fenders in these photos - but looks are deceiving! Once the steel fenders were removed � (and sold, because I thought I wouldn't need them anymore), the fiberglass ones were placed � on the car.�
��
 �
�
�
�
�
As can be seen in the pictures, I've added the ST spoiler so this had to be �
blended in with the fenders. Also, my car started out as a "rubber bumper" �
(post 1974) model, but I planned a "chrome bumper" conversion - so those changes �
need to come together too. �
�
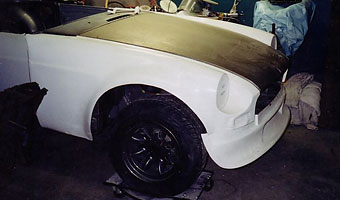
The most difficult area to fit properly on these fenders was at the rear top where �
the fender meets the windshield frame. When you order this kit, you specify whether �
you want the GT or roadster. After much cutting and rebuilding in the �
windshield-to-fender area, I don't think it would really matter if you got the �
wrong fenders for your project. The problem here is poor fit quality. The curve �
of the fender had to be cut out, fiberglass added in to reshape and then the curve �
added back in to follow the car. The overall fit of the fender is good in that it �
sits in the correct position, but it does take a lot of reshaping in small areas to �
make it look like it came with the car. The turn signal light area is shaped and �
easy enough to cut out for your lights. Remember to add a ground wire from the �
light housing to a good ground on the car as the original housing just grounded �
itself by being attached to the steel fender. The headlight housing is mounted the �
same way. Cut out the fiberglass, mark your mounting holes for the bucket and all the �
associated light fittings and you're set.�
�
�
�
As many MG owners will already know, the rear of the original steel fenders �
mount to the car by use of a steel vertical panels that are welded to the fender �
and then bolted to the car. The fiberglass fenders have their own versions of these �
panels, but they're totally useless. They're not in the correct position, so �
I removed them. In the picture above, you can see how an inner brace was made �
to replicate this panel. This bracket was bonded to the fiberglass fender. Then I �
used the original holes on the car to mount the fender.�
�
This area is hidden behind the stock MGB splash panel that installs in the �
factory location with the only addition being some metal added at the bottom �
to fill the gap created by the flare. The outer edge of the splash panel has �
a rubber weather-strip and it seals against the fiberglass fender nicely.�
�

�
�
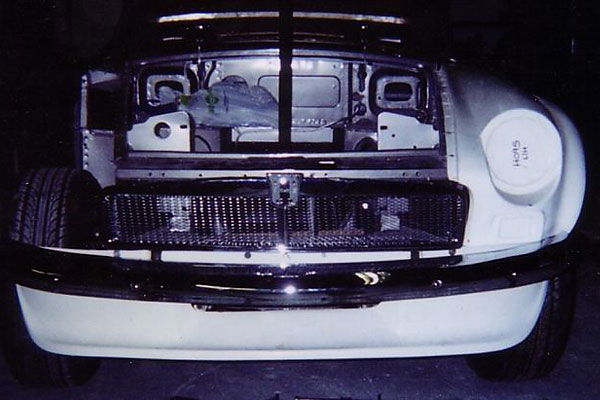
Inside the engine compartment, holes are drilled through the fiberglass fender to �
install the bolts to hold it to the car. Mounting the fenders at the front �
involved adding small panels to replace the vertical ones on either side of �
the grille that were attached to the steel fenders.�
�
You can just see the original panel mounts for the fenders. The easiest way �
to attach the fiberglass fenders is to source some old steel fenders, cut off the �
small panel that attaches the fender to the car and attach these to the fiberglass ones. �
Then sculpt the fiberglass around the grille opening to the proper shape. Having �
a grille to use makes this step much easier.�
�
�
�
�
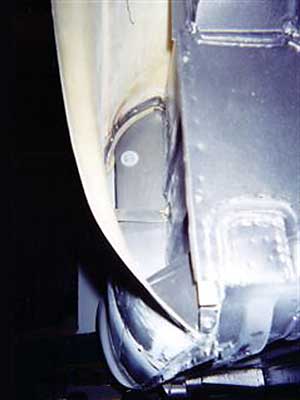
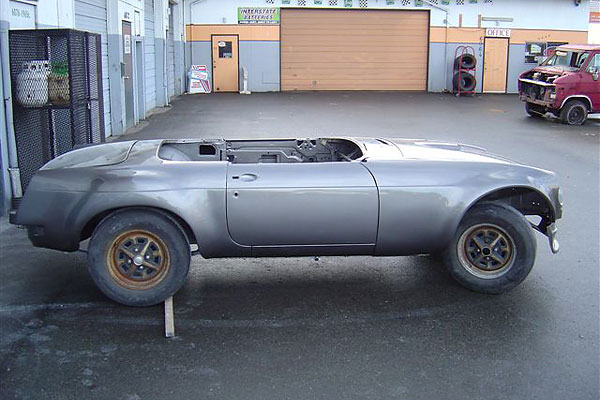
The last step before the final bodywork, primer and paint is to reinforce the �
wheel arch lip of the fenders. As shown above (here and also three photos up where �
the inner brace was shown) the arch lip is literally a sharp edge. Some may elect �
to leave it like this, but adding strength here will prevent someone from leaning �
on the fender and cracking it. My body-man came up with some foam strips that he �
attached to the lip, built it up with resin and then fibre-glassed under the arch �
to give the lip a "horizontal" edge. To give further strength to the fender (and �
to prevent rocks and debris off the tires damaging the underside of each fender), �
we chose to apply spray-on truck bed-liner material under each fender. This product �
was used on the rear fenders as well. Now that the car is done, it's hard to tell �
that the fenders are actually fiberglass.�
�
Looking back on this project, the only thing I'd do differently is to not use the �
complete fiberglass front fenders. Installing the fiberglass front fenders certainly �
isn't as simple as just bolting them on (as you may have gathered.) If you have or�
can procure a reasonably staight set of steel fenders, I'd recommend bonding the �
flared sections of the fiberglass fenders to them (much like the fiberglass rear quarters �
are attached.) Installing complete fiberglass fenders seems appropriate for repairing �
a car with extensive collision or rust damage, but if available I think it'd save �
considerable work and avoid hassles to use steel fenders as a foundation. �
�
�
�
�
�
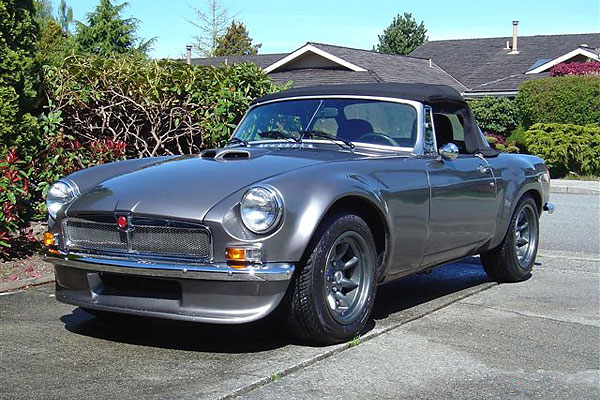
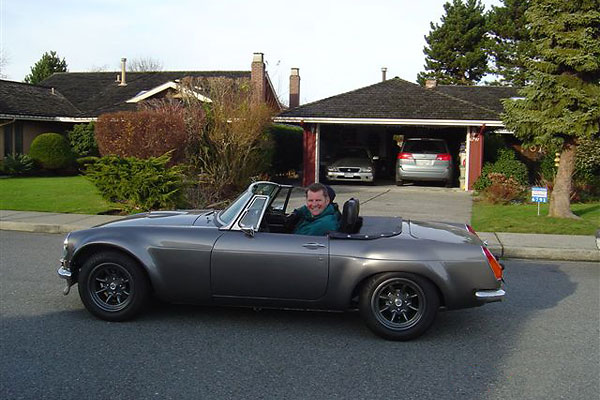
Genuine Minilite wheels (Made in Britain!) complete the authentic vintage-performance "look".
�
�
� For more information and photos, please see � Simon Austin's "How It Was Done" article.�
� Disclaimer: This page was researched and written by Simon Austin. Views expressed � are those of the author, and are provided without warrantee or guarantee. Apply at your � own risk.�� Photos by Simon Austin for the British V8 Newsletter. All rights reserved. � �
