 �
�
�
 �
�
MG Midget Bodyshells - Being Assembled by British Motor Heritage
��
as published in British V8 Newsletter, Volume XV Issue 2, September 2007�
�
photos by: Steve Clark and Bill Mohan�
�
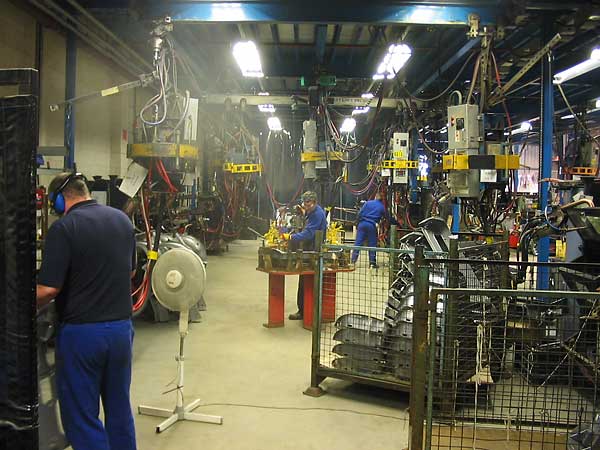
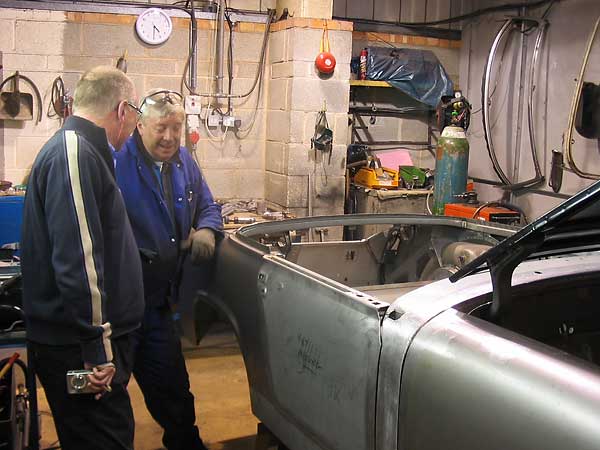
The Midget and Sprite Club visited British Motor Heritage in April 2006 to see a �
production run of "square-wheel-arch" Heritage MG Midget bodyshells being produced. �
After a cordial greeting with coffee and biscuits, a brief meeting with company �
staff, and the ritual hand-out of eye-and-ear protection the group was invited to �
come on out and see Midget bodyshells being made.
�
The British V8 Newsletter is very pleased to document their visit in photographs. �
�
�
�
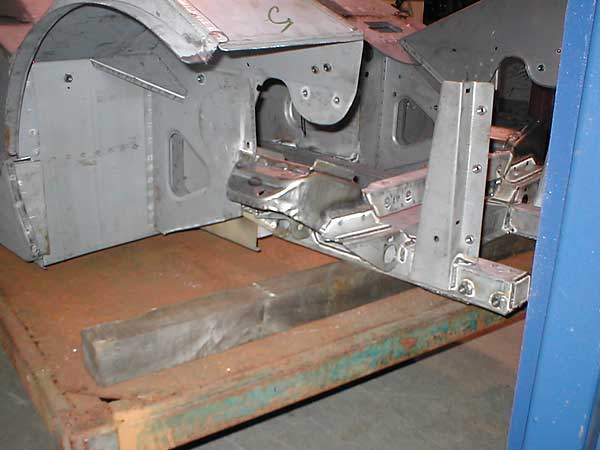
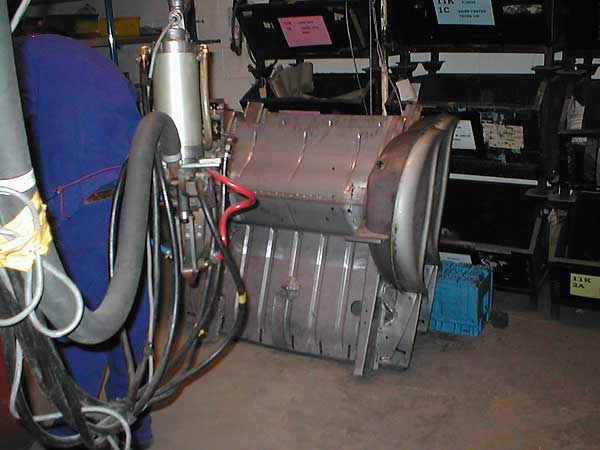
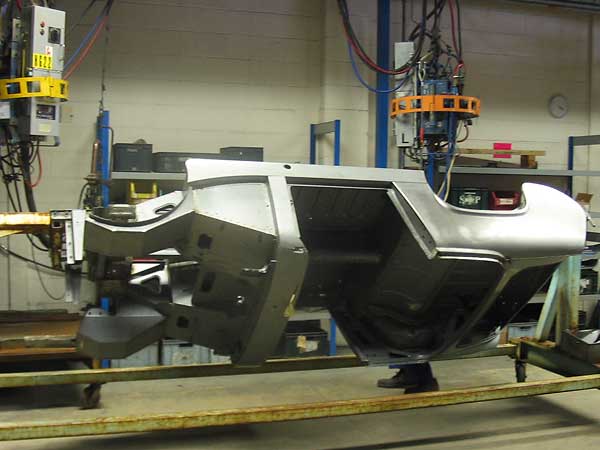
The curved (almost sculpted) front crossmember identifies this as a later Midget 1500 (rubber bumper) shell.�
Please support the sponsoring companies who make BritishV8 possible, including:
�
 �
�
�
�
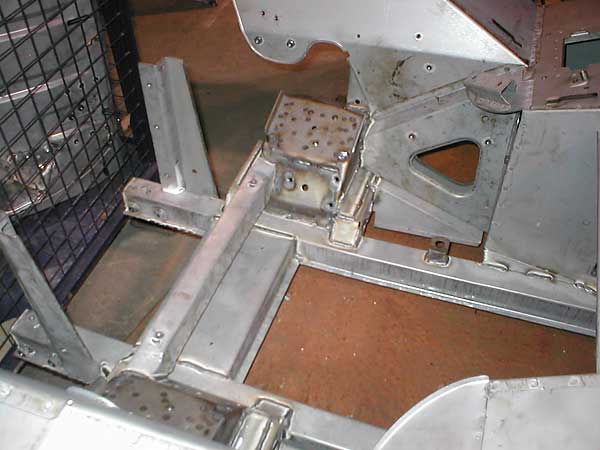
The straight-across (square tube) front crossmember identifies this as a chrome-bumper Midget bodyshell.
�
�
Although the crossmembers are different, the motor mounts look similar.
�
�
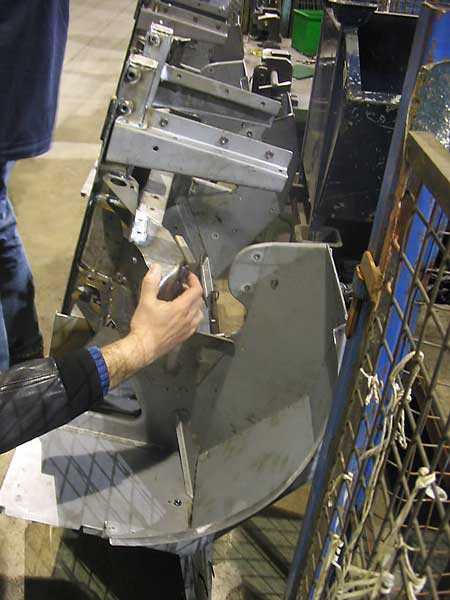
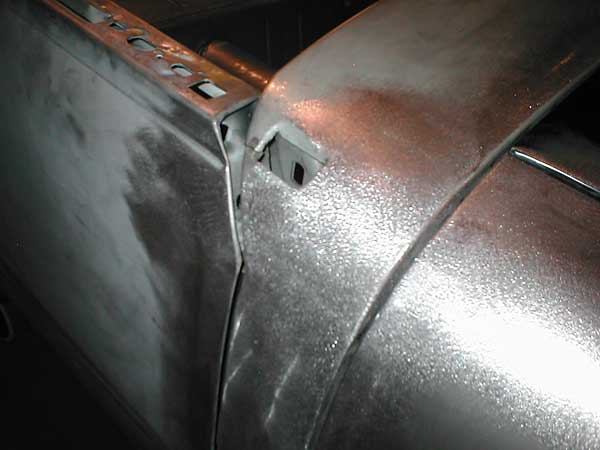
Front wheel-arch assembly.
�
�
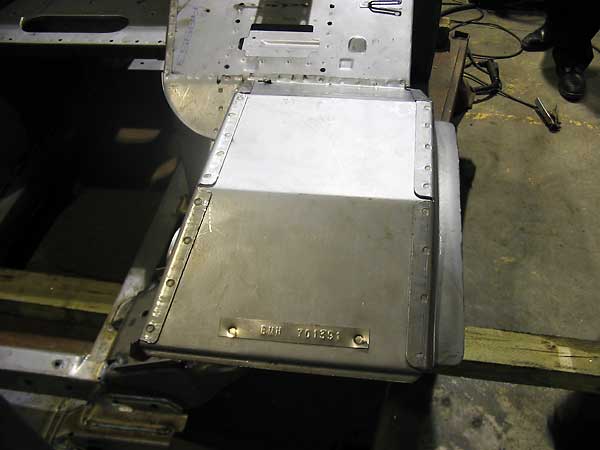
British Motor Heritage serial number plate... on the wheel arch.
�
�
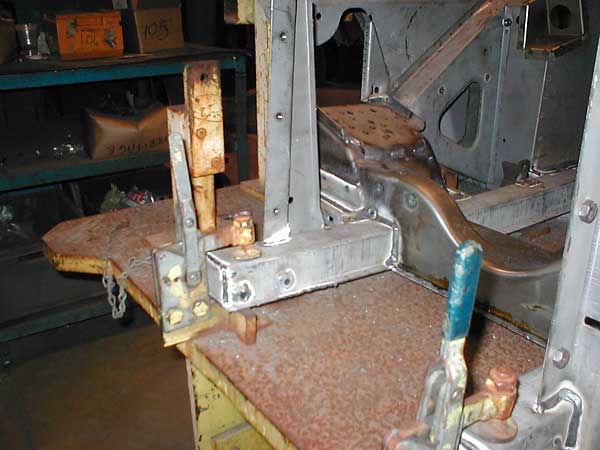
Wheel arches are clamped tightly in place before the assembly is welded-up.
�
�
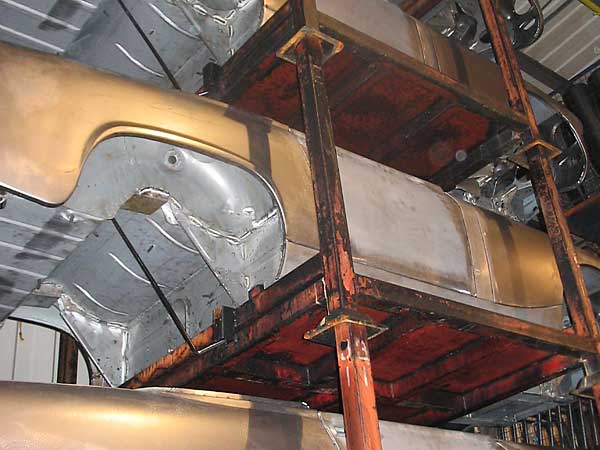
Front subassemblies are lined up in a que.
�
�
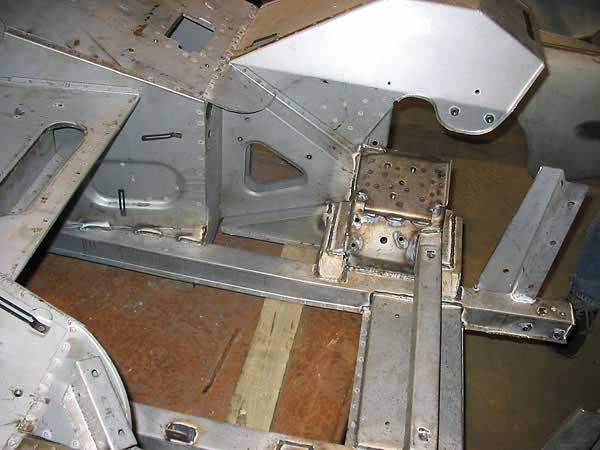
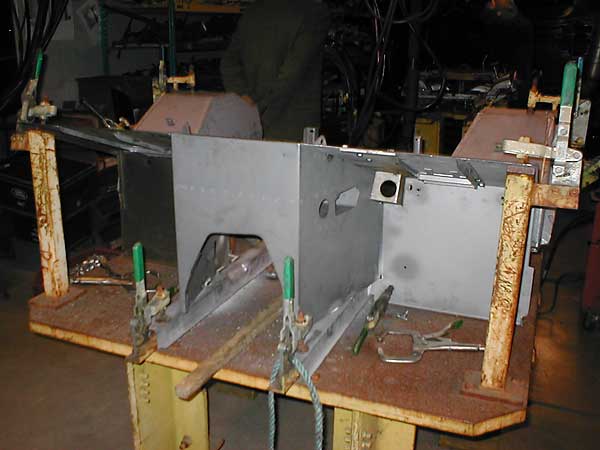
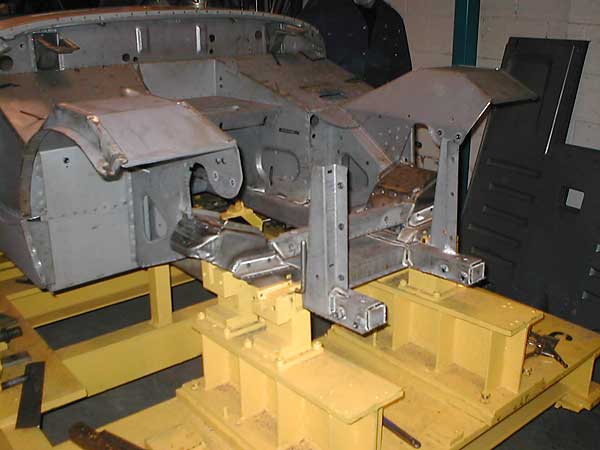
This photo and the next illustrate the difference between a subassembly fixture and the main assembly fixture.
�
�
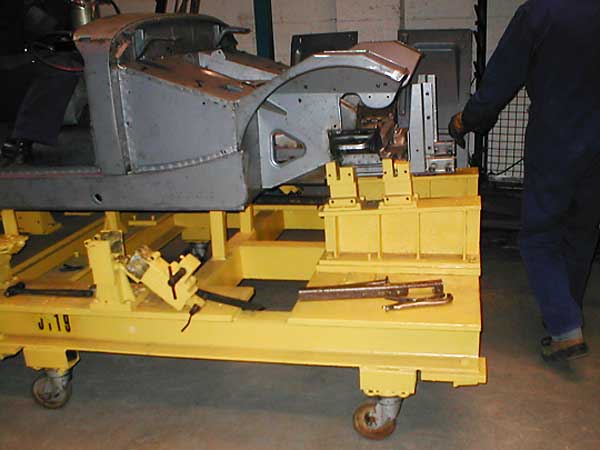
Precise, rigid body assembly fixtures are critical to proper alignment.
�
�
"This shows the infamous front chassis curve being built in on the assembly jig." - Bill
�
�
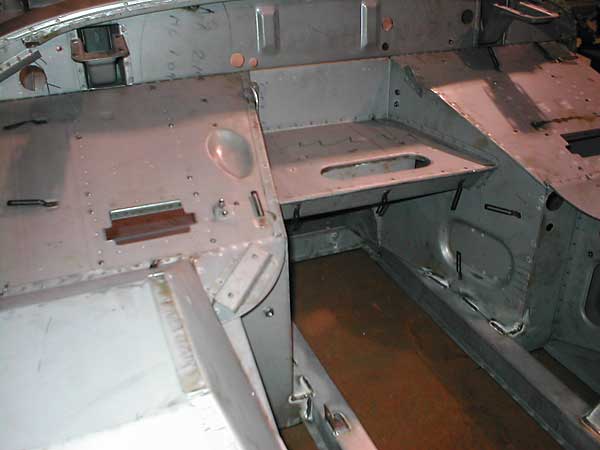
Battery and heater shelf.
�
�
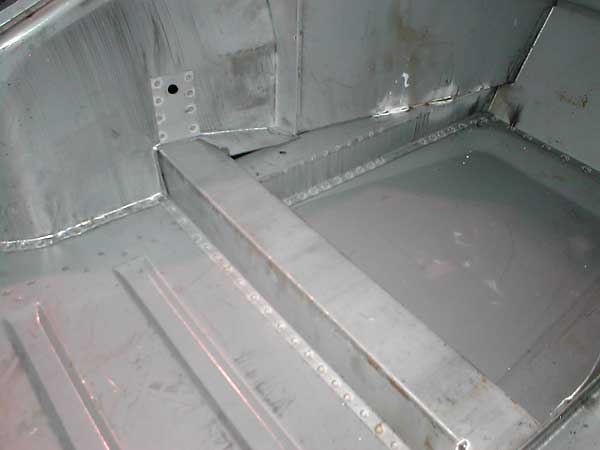
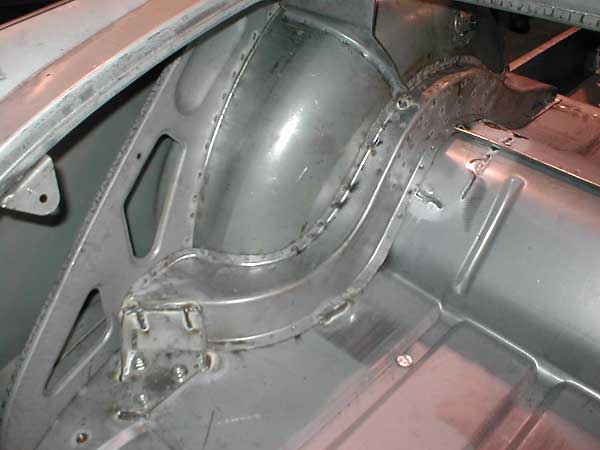
An initial MIG weld (from the transmission side of the front bulkhead to the front rails)...
�
�
...then they weld more extensively from the interior side of the cockpit, once on the big fixture.
�
�
Rear subassemblies are lined up in a queue.
�
�
�
Rear cockpit bulkhead.
�
�
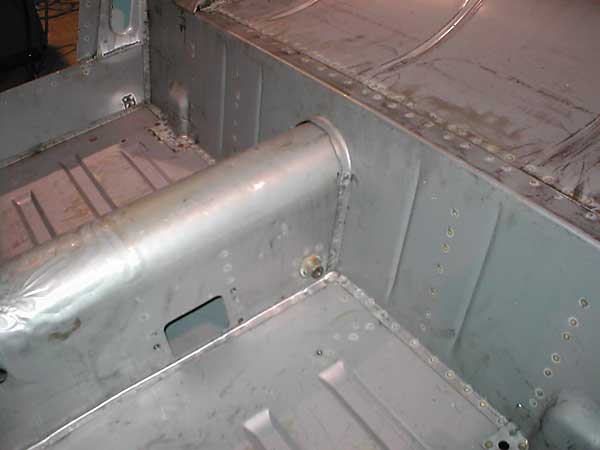
Rear luggage floor assembly.
�
�
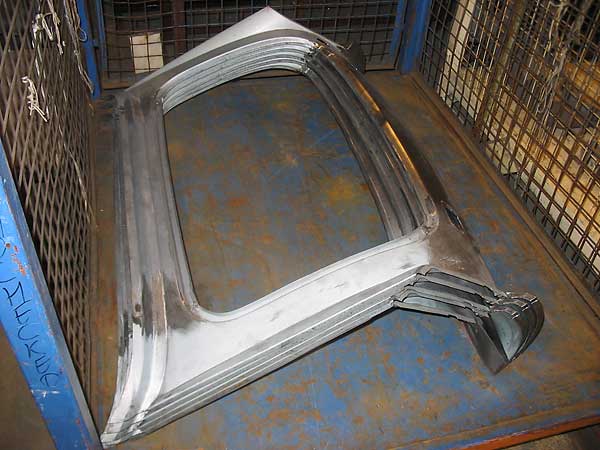
Reinforcement panel, rear wheel arch to B-post.
�
�
�
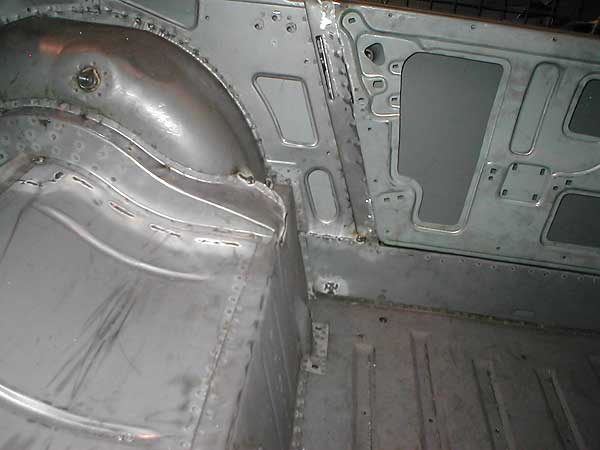
Rear wheel arch inner assembly.
�

�
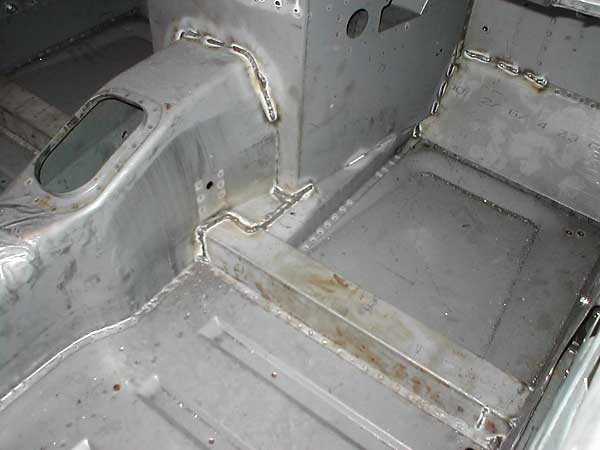
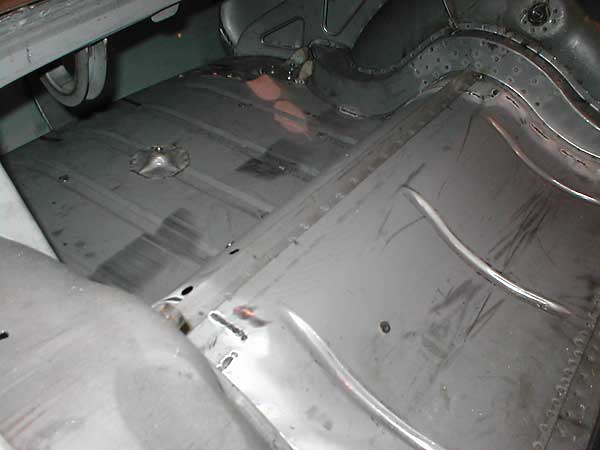
Notice that on a Midget the rear cockpit bulkhead is mounted parallel to this "shut panel",
�
and that together these two panels support the leaf spring hanger boxes.
�
�
�
�
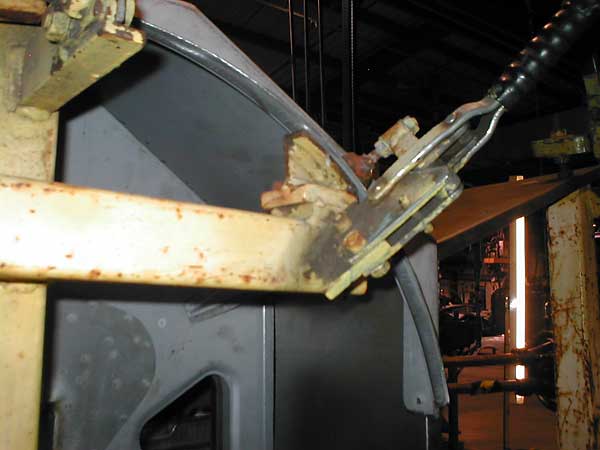
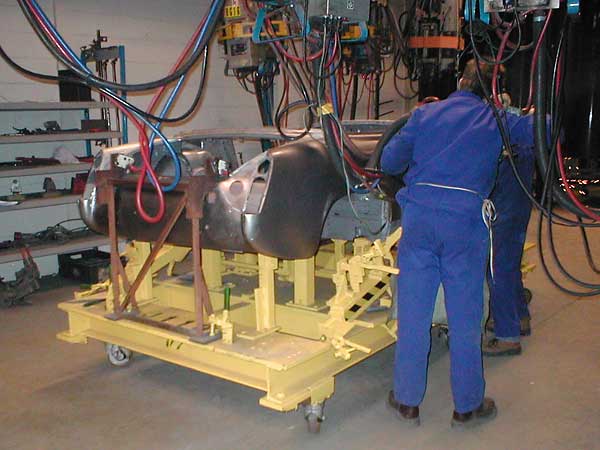
Rotisserie!
�
�
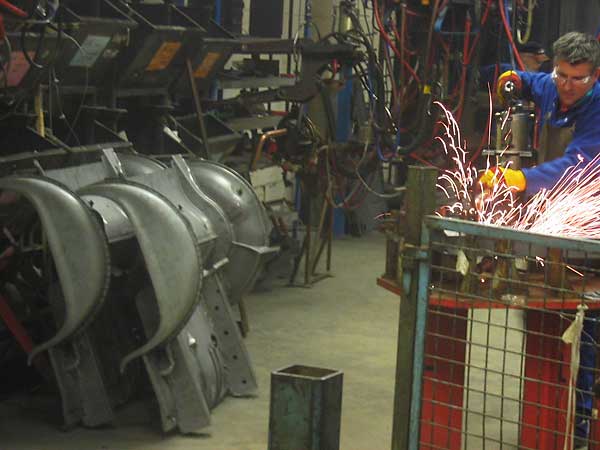
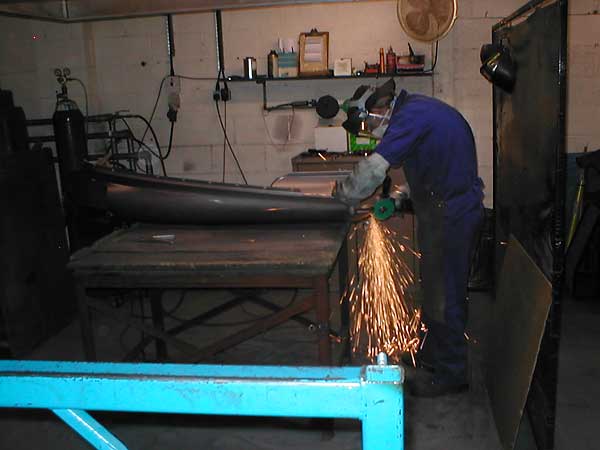
Prepping fenders for installation.
�
�
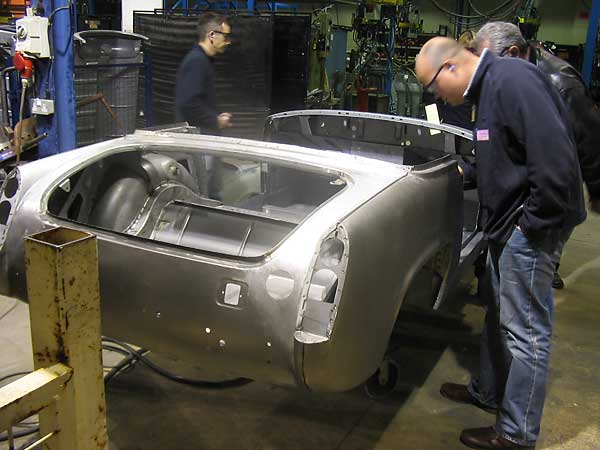
After installation, fender, cowl, and door alignment is fine tuned.
�
�
�
�
�
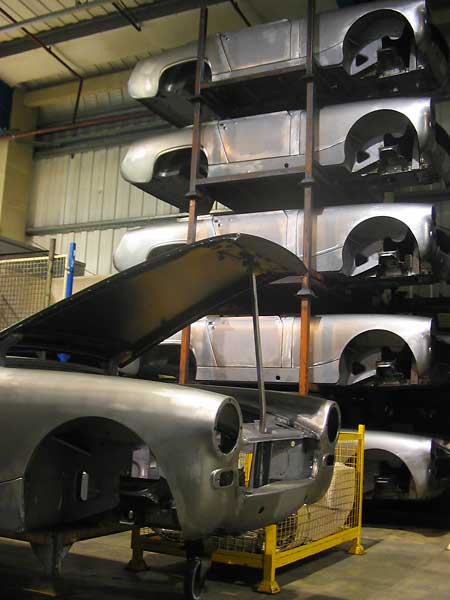
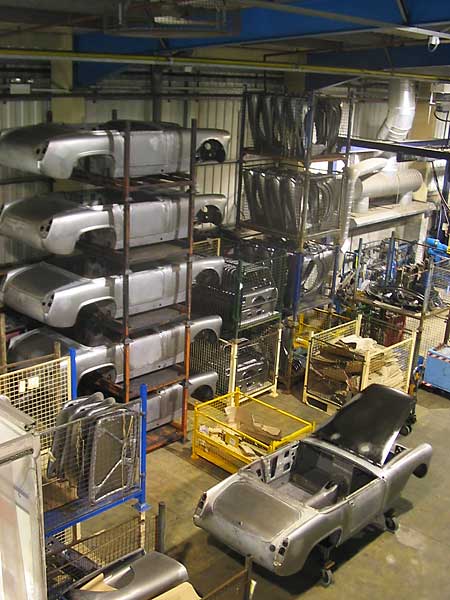
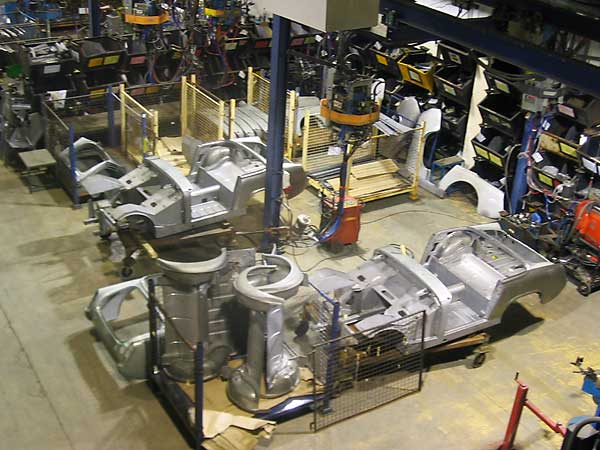
When the whole batch is ready, they'll be sent off to be E-coat dip-primed together.
�
�
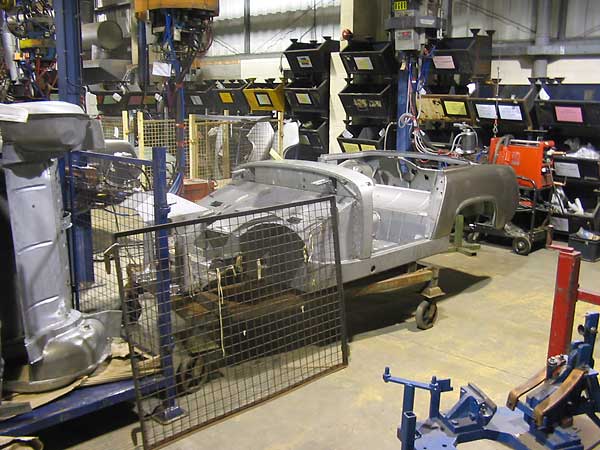
A nice overview... from the mezzanine.�
�
Enjoying this article? Our magazine is funded through the generous support of readers like you!
�
To contribute to our operating budget, please click here and follow the instructions.
�
(Suggested contribution is twenty bucks per year. Feel free to give more!)�
Customer Comments about Using a Heritage Bodyshell
� �
K. Harris (on the Isle of Wight) wrote: "I would advise not to buy a sprayed shell, but build �
the car up as much as you can to see what doesn't fit, then dismantle, have the shell sprayed,�
then build. This may seem stupid and long-winded, but in the long run it saves hassle, rather �
than cock-up a new spray job - having to do alterations due to ill-fitting parts or pre-drilled �
holes in the wrong place on the shell!!!" �
�
Richard Boobier (of North Somerset) wrote: "I would definitly build-it-up (to trial-fit everything)�
prior to getting a body shop to spray it for you. There were numerous bits that required some �
fettling, especially any new bits! Lights/badges/chrome bits etc. I had an issue with a rear �
light/panel fit that required a bit of filing to make it just right, various welds needed dressing, �
and a dashboard captive nut below the dash top required repositioning (i.e rewelding). The odd �
bit of filing/filling when in primer is not an issue, but when it's in top-coat it's scary! �
The file has a will of its own. Well, at least all of mine do!"�
�
Clive Berry (of Gloucestershire) wrote: "My Heritage shell was built in '94 and is yet to hit the �
road. The fit is slightly random and there are a few dings. I bought it already sprayed and can �
agree that virtually building the car, stripping, then spraying is the way to go. The thing is �
though, it is rust free and likely to stay that way for a long time. All I have to do is finish �
the blardy thing! �
�
Bill Mohan (of Streetly, in the West Midlands) wrote: "Visiting the BMH factory, I had the �
impression that they have a little time to take greater pains with the shell than was available �
back in the mists of time and I'm sure that the shells get far better 'service' than they used �
to. Of course they don't spend hours fettling them as they build them. They're supposed to make �
money too!"�
"So how would I go about buying one?"
�� British Motor Heritage bodyshells are available through Heritage approved distributors... or � since September 2006 they can be purchased directly from BMH. British Motor Heritage prices � bodyshells and accessories in local currency ("pounds sterling") and adds 17.5 percent Value � Added Tax ("VAT"). If you're purchasing for use outside the European Community you may be able � to get a tax refund. Shipping is additional, and will need to be quoted. Check with your credit � card company for exchange rate and fees. Exchange rates vary daily, so the dollar figures below � are approximate. (They were current on September 1, 2007.)�
�| MODEL # | SPECIFICATION AND KEY FEATURES | G.B. POUNDS | U.S. DOLLARS |
| MG Midget | |||
| BMH8057 | Oct.66 - Aug.69 MG Midget (square wheel arch) | £ 3800 | $ 7669 |
| CZJ366 (& 203) | Aug.69 - Aug.71 MG Midget (square wheel arch) | £ 3800 | $ 7669 |
| CZJ83 (& 84) | Aug.71 - Oct.74 MG Midget (round wheel arch) | £ 3800 | $ 7669 |
| MG Midget "Competition Bodyshell" Options | |||
| ? | incremental charge for MG Midget seam welding | £ 750 | $ 1512 |
| ? | incremental charge for MG Midget roll-cage | £ 1400 | $ 2822 |
| ? | incremental charge for MG Midget FIA-spec tow-eyes | £ 100 | $ 202 |
| ? | incremental charge for MG Midget shoulder harness reinforcement | £ 95 | $ 192 |
� Disclaimer: This page was researched and written by Steve Clark. Views expressed � are those of the author, and are provided without warrantee or guarantee. Apply at your � own risk.�
� This article is part of a set of FIVE! If you enjoyed this article, check out:
� A Visit to British Motor Heritage
� BMH's Exciting New Competition Bodyshell Program
� How BMH Built a Brand-New Vintage Race Car
� The Building of an MG MGB Body�
� Note: Photos with filename suffixes A through N were provided by Steve Clark.
� Photos W through Z, plus all photos with two-letter suffixes, were provided by Bill Mohan.
� All photos were taken in April 2006. �
