
�
� presented by: Greg Myer for Advance Auto-Wire
� coverage by: Curtis Jacobson�
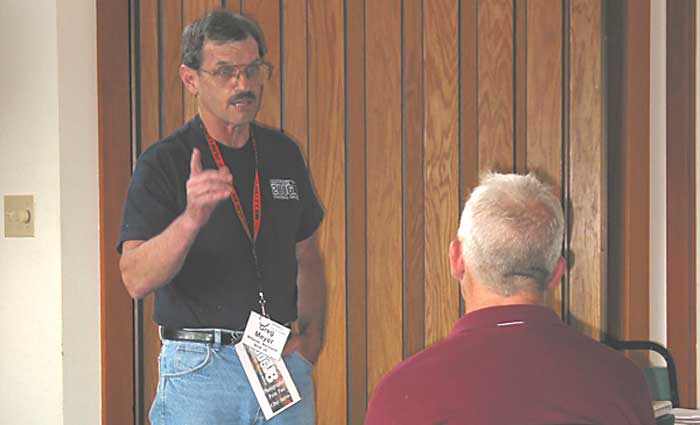
� Greg Myer accepted the prestigious honor of getting to present his tech session first at this � year's British V8 meet. Having recently completed installation of an Advance Auto-Wire wiring � kit in an MGB V8 project car, he was certainly well qualified to present the installation from � a user's perspective, and to provide lots of practical advice for other potential customers.�
�
�
�
�
�
Greg Myer Explained How to Install an Advance Auto-Wire Wiring Kit�
British V8 2006 Tech Session: Installing a Wiring Kit
� as published in British V8 Newsletter, Volume XIV Issue 2, August 2006�� presented by: Greg Myer for Advance Auto-Wire
� coverage by: Curtis Jacobson�
� Greg Myer accepted the prestigious honor of getting to present his tech session first at this � year's British V8 meet. Having recently completed installation of an Advance Auto-Wire wiring � kit in an MGB V8 project car, he was certainly well qualified to present the installation from � a user's perspective, and to provide lots of practical advice for other potential customers.�
�
�
The one piece of advice Greg most emphasized was to read and re-read the installation manual. �
Wiring installation requires new skills that are foreign to most of us. It's one part of the �
engine conversion process that particularly requires thoughtful planning, careful attention �
to detail, and good craftsmanship... Greg explained that the job is easily "do-able", and that�
the Advance Auto-Wire kit makes some aspects of the job easy, but this still isn't something �
that one should plunge right into.�
� Wiring diagrams and electrical schematics are important aids. Greg suggested taking the � wiring diagrams to a photocopier ("Kinko's", "Copy-Max", public library...) and blowing them � up onto 11 x 17 paper. It's a great idea for these reasons: you can make plenty of extra copies, � and you can write notes right on the copies to your heart's content. Pick up a highlighter � pin or three while you're there, and also consider laminating a copy of the schematic for � long term preservation.�
�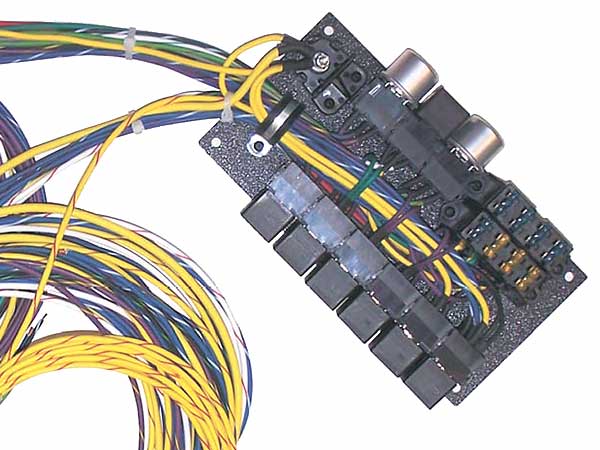
� Relays switch high current loads with grace, so more power is available for work. (One result: brighter headlights!)
� The Advance Auto-Wire wiring kit has a centralized circuit protection and relay block � mounted on a sheet metal panel. The first decision an installer should make is where to � mount this "electrical center". It should be someplace well-protected and isolated from � excessive heat, and it should be accessible for future service. A typical place would be � upside-down under the passenger-side of the dash. �
��
�
�
�
�
� Wiring diagrams and electrical schematics are important aids. Greg suggested taking the � wiring diagrams to a photocopier ("Kinko's", "Copy-Max", public library...) and blowing them � up onto 11 x 17 paper. It's a great idea for these reasons: you can make plenty of extra copies, � and you can write notes right on the copies to your heart's content. Pick up a highlighter � pin or three while you're there, and also consider laminating a copy of the schematic for � long term preservation.�
�
� Relays switch high current loads with grace, so more power is available for work. (One result: brighter headlights!)
� The Advance Auto-Wire wiring kit has a centralized circuit protection and relay block � mounted on a sheet metal panel. The first decision an installer should make is where to � mount this "electrical center". It should be someplace well-protected and isolated from � excessive heat, and it should be accessible for future service. A typical place would be � upside-down under the passenger-side of the dash. �
�
| �
Enjoying this article? Our magazine is funded through the generous support of readers like you! � To contribute to our operating budget, please click here and follow the instructions. � (Suggested contribution is twenty bucks per year. Feel free to give more!)� |
�
�
Greg outlined the basic steps:�
� Disconnect the battery...�
� Carefully remove the old harness, noting where the factory ran the original wires to the � engine compartment, etc...�
� Mount the electrical center... �
�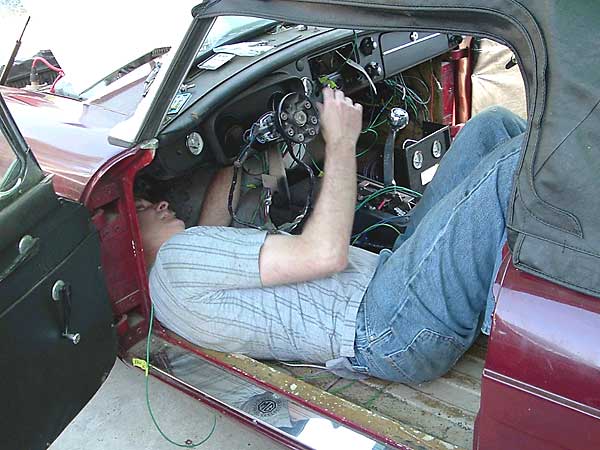
� Greg and his friend Larry Nicholas (shown here) recently re-wired this MGB V8 project car.
� Pull the color-coded wires to their respective locations, and leave them longer than needed at � first. Greg paused here, and suggested that this point in the process would be an excellent � time to take a break and re-read the manual. Good advice!�
�
�
�
� Disconnect the battery...�
� Carefully remove the old harness, noting where the factory ran the original wires to the � engine compartment, etc...�
� Mount the electrical center... �
�
� Greg and his friend Larry Nicholas (shown here) recently re-wired this MGB V8 project car.
� Pull the color-coded wires to their respective locations, and leave them longer than needed at � first. Greg paused here, and suggested that this point in the process would be an excellent � time to take a break and re-read the manual. Good advice!�
�
�
Now, before everything is carefully buttoned up, is the time to make sure wires haven't been �
crossed along the way. One by one, individual components are connected and checked to see if �
they're functioning... but while checking wires with live power it's important to make sure �
other wires are safely isolated from ground so that they won't short circuit and burn-up. Go �
slowly, starting in one area and completing as much as possible there before moving on to the �
next.�
� Greg confessed that the engine compartment is easier to wire than the dashboard: "Shoot, the � whole engine swap is easier than wiring the dash!" But when you finish you'll have a lot of � satisfaction with a job well done, and you'll know that the electrical system is safe and up� to handling the more strenuous needs of your higher power, more modern British sports car.� Your headlights are going to illuminate a lot farther down the road with lower resistance � wiring! �
� Disclaimer: This page was researched and written by Curtis Jacobson. Views expressed � are those of the author, and are provided without warrantee or guarantee. Apply at your � own risk.�
� Note: If you like this article, you'll probably also like � "Rewiring the MGB" by Jeff Howell, � which appeared in Volume XIII Issue 2 of the British V8 Newsletter.�
�
�
� Greg confessed that the engine compartment is easier to wire than the dashboard: "Shoot, the � whole engine swap is easier than wiring the dash!" But when you finish you'll have a lot of � satisfaction with a job well done, and you'll know that the electrical system is safe and up� to handling the more strenuous needs of your higher power, more modern British sports car.� Your headlights are going to illuminate a lot farther down the road with lower resistance � wiring! �
� Disclaimer: This page was researched and written by Curtis Jacobson. Views expressed � are those of the author, and are provided without warrantee or guarantee. Apply at your � own risk.�
� Note: If you like this article, you'll probably also like � "Rewiring the MGB" by Jeff Howell, � which appeared in Volume XIII Issue 2 of the British V8 Newsletter.�
