
�
�
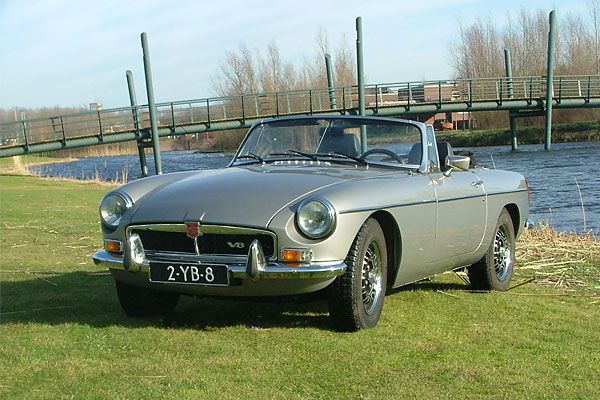
Peter van de Velde's Rover 3.5 V8-powered 77 MGB
��
as published in British V8 Magazine, Volume XVI Issue 1, May 2008�
�
Owner: Peter van de Velde
�
�
City: Helmond, Holland
�
Model: 1977 MGB
�
Engine: 3.5 liter Rover V8
�
Conversion by: owner�
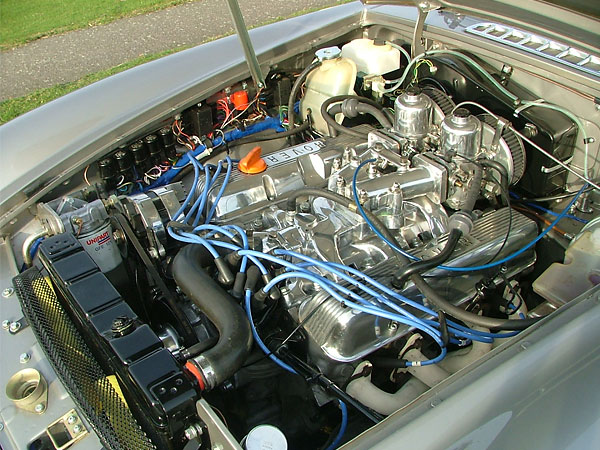
| Engine: | �3.5 liter Rover V8 from an Rover SD1. Ported and polished heads.�
New mild road camshaft. | �
| Induction: | �SU carbureters with a new V8 plenum on a modified Rover SD1 manifold. | �
| Cooling: | �standard MGB V8 radiator. | �
| Exhaust: | �ceramic coated block-hugger headers. Stainless steel exhaust pipes and �
mufflers, arranged in similar layout as factory MGB GT V8. | �
| Transmission: | �Rover SD1 5-speed gearbox, which I overhauled with new bearings, oil pump, �
synchromesh rings. Standard master cylinder. SD1 slave cylinder. �
New driveshaft from The V8 Conversion Company. | �
| Rear Axle: | �standard MGB axle, converted to MGB GT V8 (3.071:1) gear ratio. | �
| Suspension: | �front - lowered to chrome bumper height. KONI adjustable shocks on home made brackets. � rear - lowered to chrome bumper height. Adjustable KONI shocks. | �
| Brakes: | �front brakes uprated to MGB V8 GT calipers and van rotors. Stock rear brakes. | �
| Wheels/Tires: | �Dunlop MGB GT V8 wheels with Pirelli tires. | �
| Weight: | �approximately 1000kg. | �
| Instruments: | �Modified/new wiring harness. �
Added fuses and relays for head lights, horns and the twin cooling fans. | �
| Body: | �the main body structure was seam-welded from the front crossmember to the �
rear axle. New sheetmetal hat-section reinforcements were welded-in along �
the floor from the front leaf-spring mounts forward, like on the MG RV8 �
model. (See below for picture.) Chrome-bumper conversion. | �
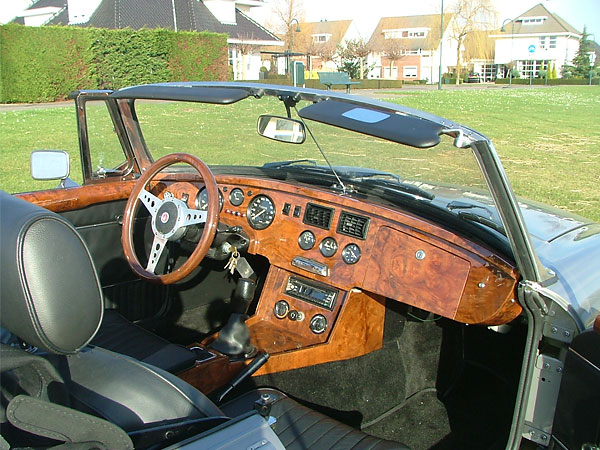
| Interior: | �custom walnut dashboard, center console, door caps, doorhandles and steering�
wheel, all made by myself! | �
| Completed: | �Peter completed the engine swap in August 2005. He then drove the car �
approximately 10,000km to shake out problems before removing it from the �
road for finally painting and trimming the car. He has driven approximately �
another 2000km since that "restoration" work. | �
| Comments: | �the project took much longer and cost much more money then planned, but �
was worth it because an MGB V8 is a very practical classic car which gives �
me a thrill every time I drive it! �
�
I converted the car in steps in the winter months and drove it during the �
summer. I started with modifying the front and rear suspension and brakes. �
Then I modified the body (e.g. inner wings and transmission tunnel). �
�
After completing the conversion, I drove the car approximately 10,000km �
in 2 years. Over this period, I made the walnut interior and redid the �
seats. The 10,000km were very usefull - you don't want to do many �
modifications on a fully restored car. I needed to do some welding. | �
�
�
Polished intake manifold, carburetors, and valve covers. Additional relays and fuseblock are also shown.
�
�
Finished walnut dashboard, interior trim, and steering wheel - all made by me.
�
�
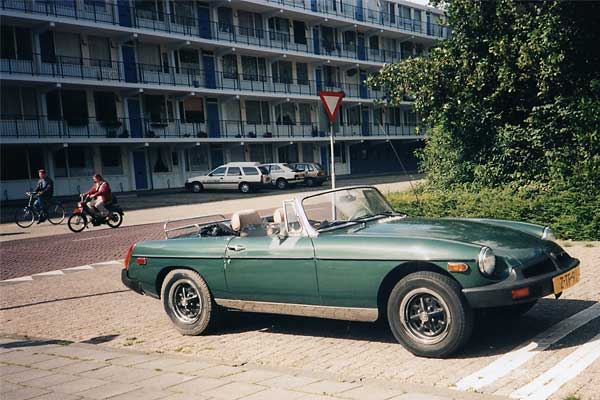
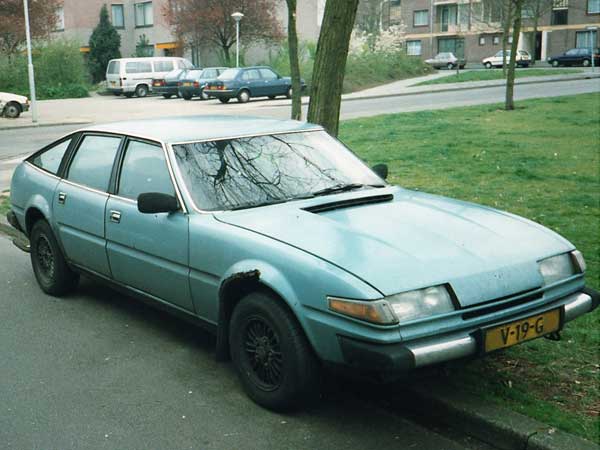
The before picture: a rust-free 1977 MGB was imported from a "dry" U.S. state.
�
�
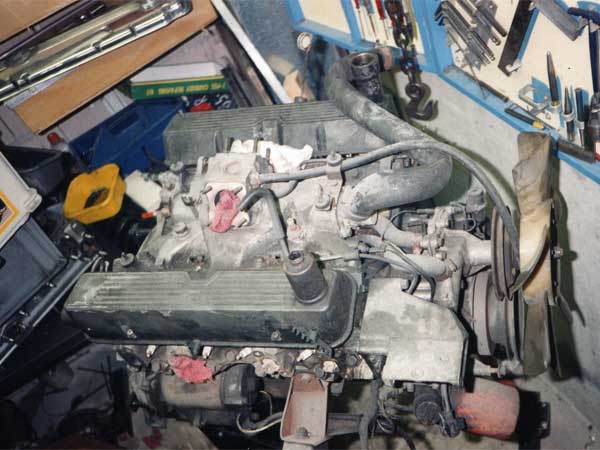
A Rover SD1 with rusted bodywork was bought to donate its V8 engine and gearbox.
�
�
The engine removed and ready for rebuilding. I ported and polished the heads, fitted new valves, valve guides,
�
cam and cam bearings, main bearings, piston rings, oil pump, hydraulic lifters, rockers and rocker arms,
�
timing chain and gears and put in main bearing studs.
�
�
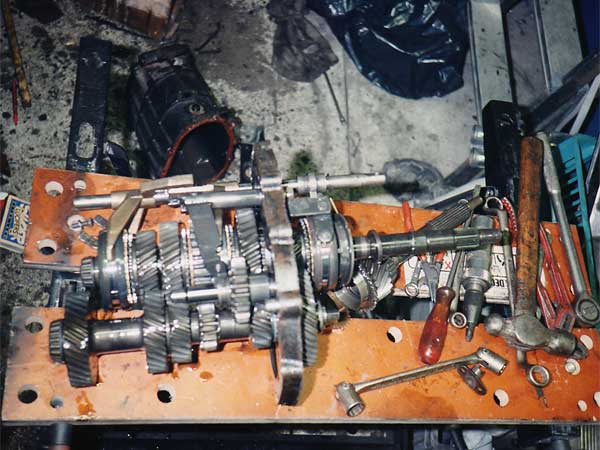
I also overhauled the gearbox, with new bearings, gaskets, oil pump, and synchromesh rings. It was difficult
�
to set the correct preload on the main shaft (with shims). The black housing was powder coated.
�
�
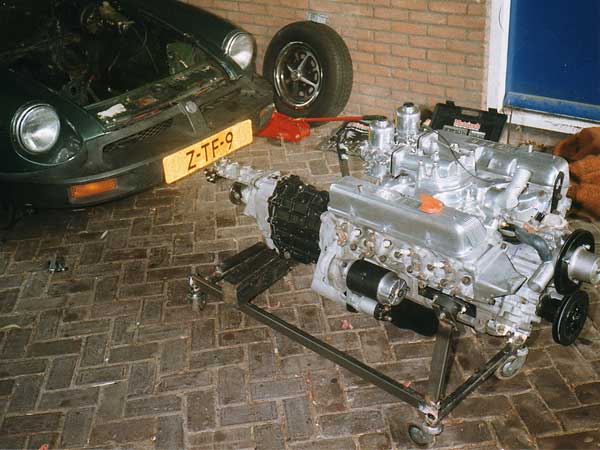
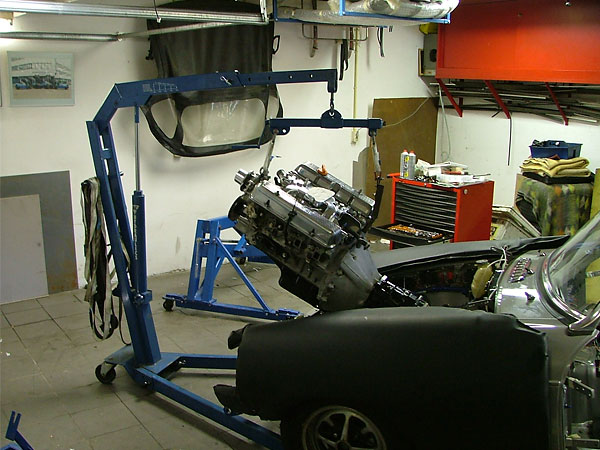
Overhauled and partly polished engine with inlet manifold and gearbox - just before putting the engine in the car.
�
I had to do this on the public road near my house because in my lockup I didn't have electricity.
�
�
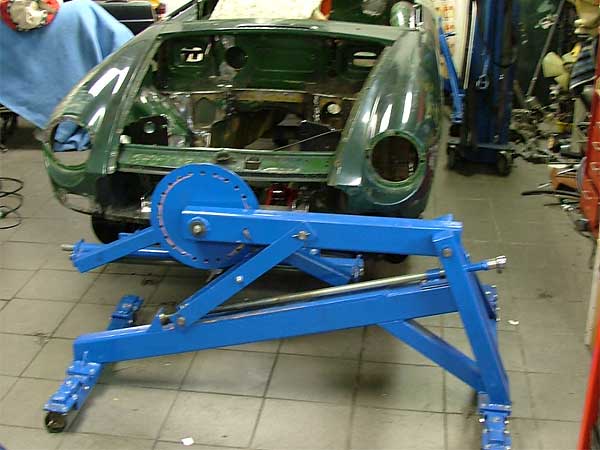
A rotator I copied from an picture in a classic car magazine.
�
�
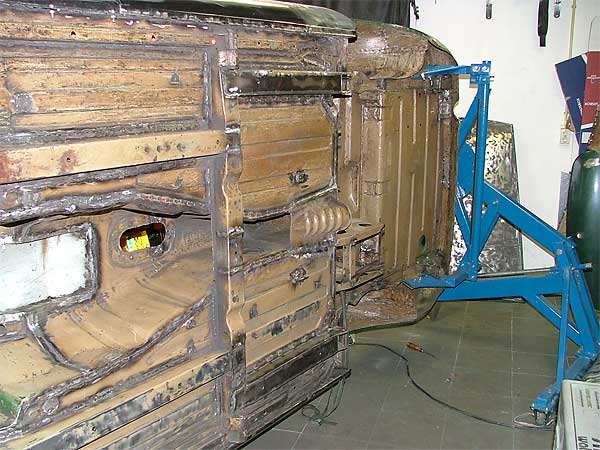
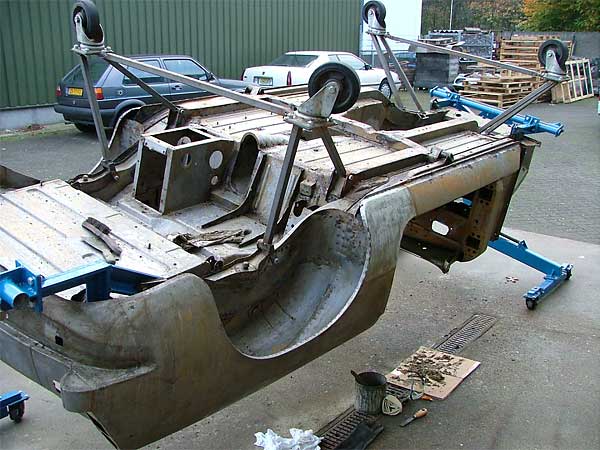
I seam-welded the body and on both sides added chassis "legs", welded in from the leg with the
�
jack support to the rear suspension like on the MGB RV8. Also the outer sill were replaced.
�
�
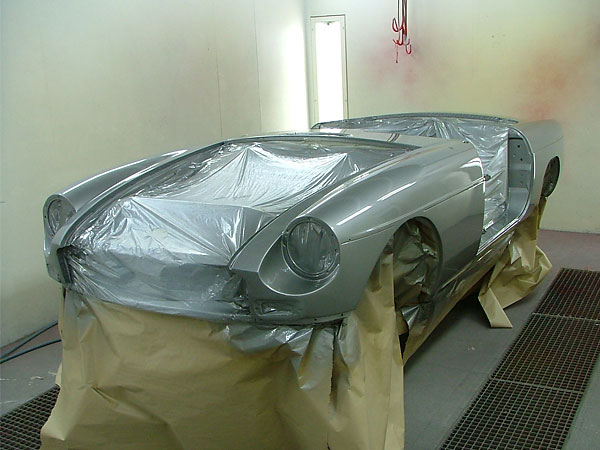
All paint, inside and outside, was removed with paint stripper before shotblasting the body.
�
�
Enjoying this article? Our magazine is funded through the generous support of readers like you!
�
To contribute to our operating budget, please click here and follow the instructions.
�
(Suggested contribution is twenty bucks per year. Feel free to give more!)�
�
�
�
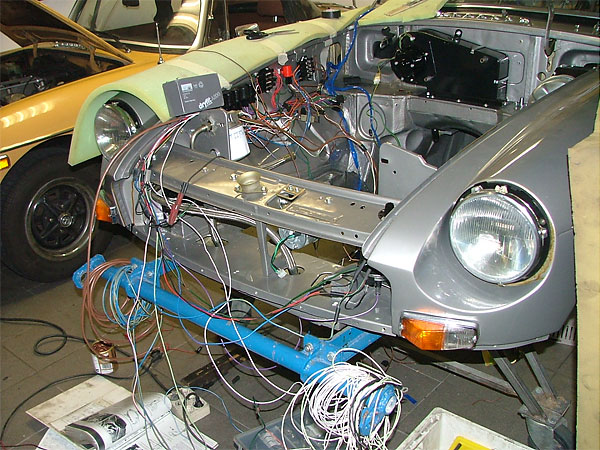
The body was painted in a two-part metallic grey paint. I selected a Rover color.
�
�
I modified a new MGB wiring harness by adding 5 relays and an additional fuse box for lights, fans and horns
�
�
Front and rear suspension fitted.
�
�
Engine and gearbox are being installed.
�

�
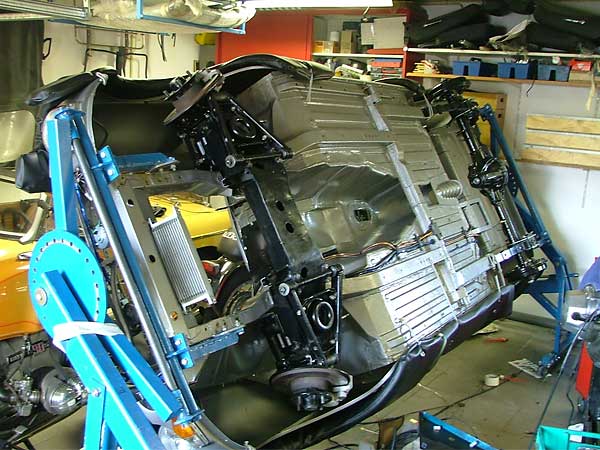
A view underneath the car. Adjustable Koni's were fitted to front and rear suspension.
�
The bottom of the body is coated with a sort of plastic undercoating.
�
�
�
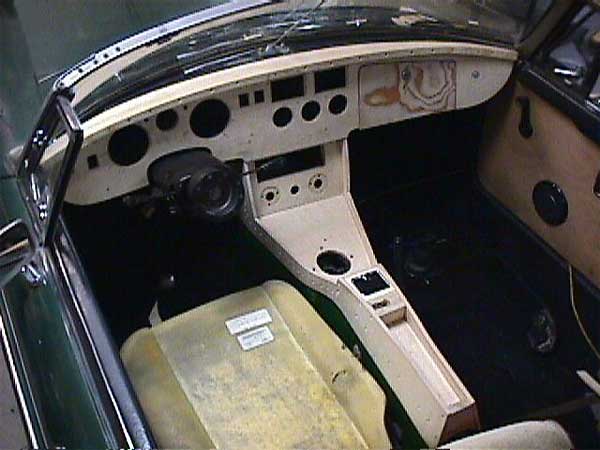
Building the custom dashboard and center console. Later, walnut veneer was glued onto this wooden base.
�
�
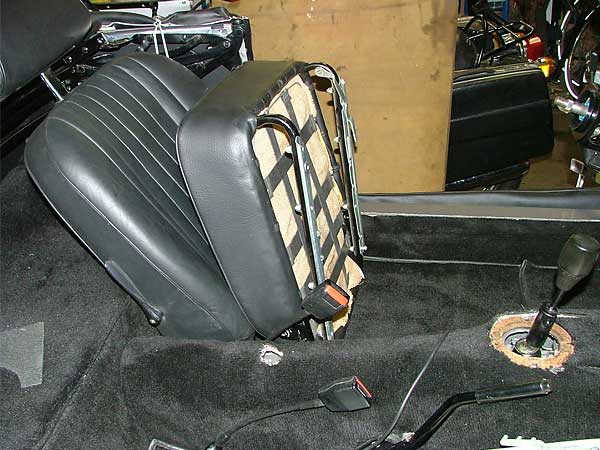
New carpets and rebuilt seats with black leather upholstery and new cushion foam. �
