
�

�
Brian McCullough's 1980 MGB with GM 3.4L V6
� as published in BritishV8 Magazine, Volume XVI Issue 2, October 2008�� Owner: Brian McCullough
� BritishV8 UserID: BMC
� City: Stacy, MN
� � Model: 1980 MGB
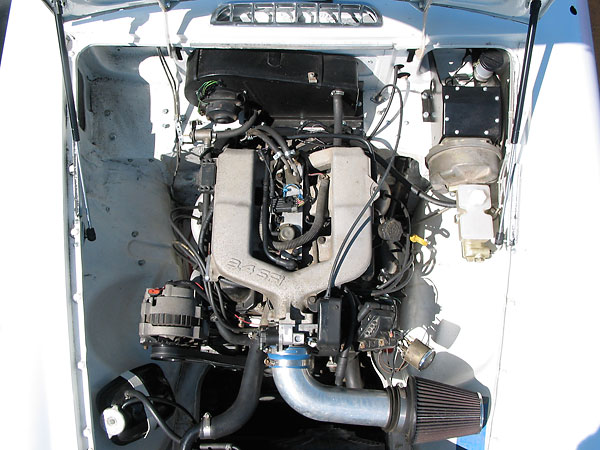
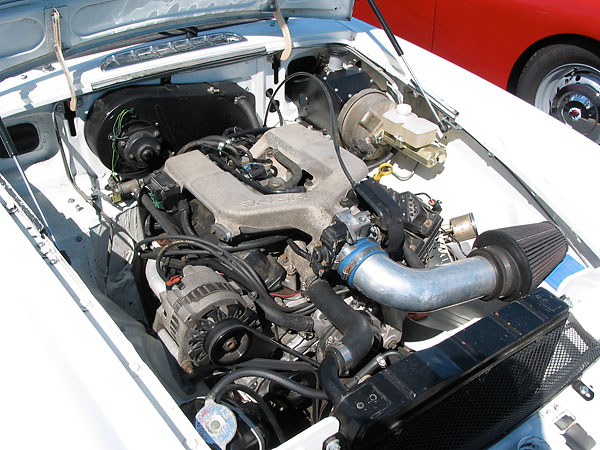
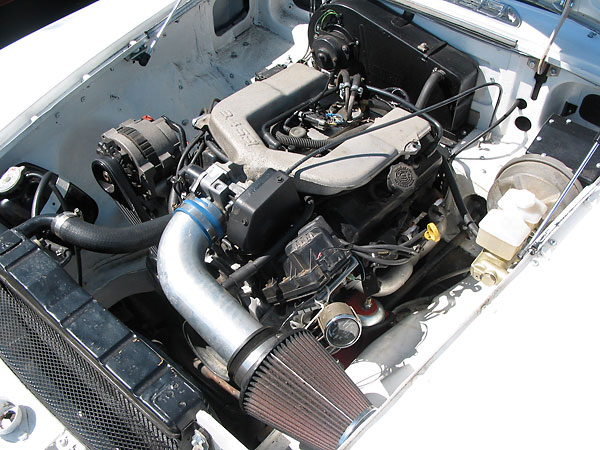
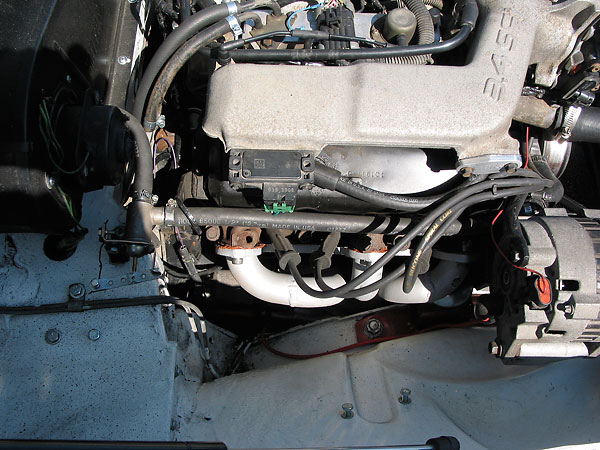
� Engine: GM 3.4L V6
� Built by: BMC British Automobile, LLC
�
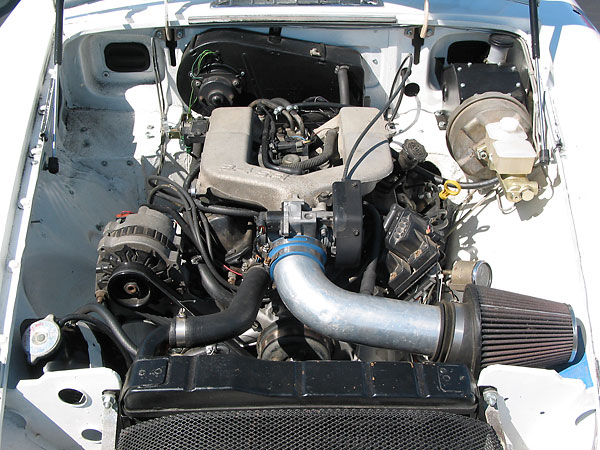
| Engine: | �1995 Camaro 3.4L 'L32'. Engine sat for about 7 years unused and in the weather. �
Entirely stock fuel injection including PCM, throttle body, manifold, injectors, �
cam, etc. The engine wiring harness is as made and sold by BMC British Automobile, �
LLC. It is installed to be mostly hidden in the vehicle. | �
| Cooling: | �stock late model MGB radiator. | �
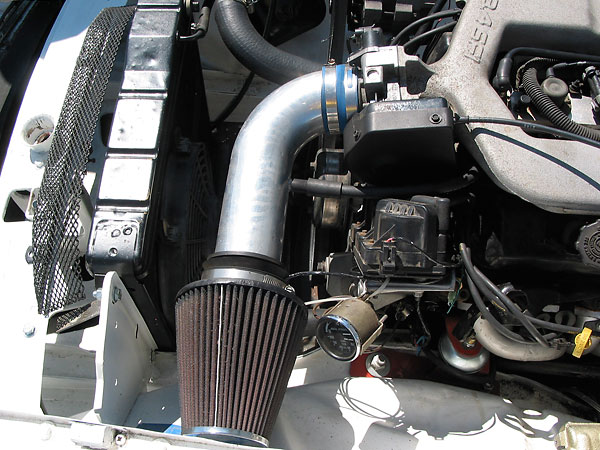
| Exhaust: | �Classic Conversions Engineering (CCE) headers. (These are their newer design,�
and they work fantastic! I am very pleased with them.) The 'y' pipe is a �
2-into-1 1.75" into a single 2.25" exhaust pipe. The silencer is an off the �
shelf unit. This was installed so if we are seen, we are not heard thus �
avoiding any unneeded attention that I already get enough of. | �
| Transmission: | �Camaro "non world class" V8-spec T5 for now, although I plan to upgrade next �
year to a V6-spec T5 with installation of a 3.42:1 GM axle. Stock Camaro clutch, �
actuated by hydraulic throw-out bearing ("HTOB"). 2" thick wall driveshaft. | �
| Rear Axle: | �stock MGB, for now, but we'll update to a GM "10-bolt" rear axle with 3.42:1 �
final drive ratio, Eaton limited slip differential, stock GM brake rotors, and �
Wilwood calipers. We normally have our axles built slightly narrower than �
the stock MGB (Salisbury) axle, but for this car we'll have one built �
substantially narrower and we'll use wheel adapters. This will open up many �
future wheel alternatives. Note: I prefer "wheel adapters" (5-on-5 to 5-on-5) �
as opposed to "wheel spacers". | �
| Front Susp. : | �stock MGB. | �
| Rear Susp. : | �stock MGB. Composite springs were purchased a few years ago to be installed �
with the axle upgrade. | �
| Brakes: | �stock MGB. A Classic Conversions Engineering big brake kit is planned for �
the front and Wilwood calipers will be installed on the rear (GM) axle �
next year. | �
| Wheels/Tires: | �195/60R14 tires. Next year, I plan to upgrade to Minilite wheels on a 5x4.75 �
lug pattern (via CCE front hubs and custom rear axle shafts). | �
| Weight: | �2250 with a full tank of gas, as measured at British V8 2008. �
(52/48 weight distribution.) | �
| Electrical: | �stock MGB wiring harness, reworked into a "hidden harness" and mated to a�
secondary/adapter harness that facilitates engine removal with only one �
disconnection point. Lighting is stock, but relays have been added to the �
system. "Angel Eyes" aftermarket headlamps, with a very neat appearance �
especially as the sun goes down. Stock gauges (recalibrated). This provides �
stock appearance, but it's very costly compared to aftermarket gauges. | �
| Completed: | �in July 2008 the car was ready for a 200 mile test drive, followed by a �
road trip to attend British V8 2008. The car is missing its glove box, �
center console, and lots of other items. The majority of the car is �
currently stock as of this writing (08/01) and is enjoyable and performs �
well. Many, many upgrades are planned as identified above. | �
| Comments: | �I am not a fan of "rubber bumper" MGBs. They were a shadow of the earlier �
cars and not much more. They were too slow, rode too high, didn't have enough �
shiny brightwork, and their interior no longer had the simple feel of the early�
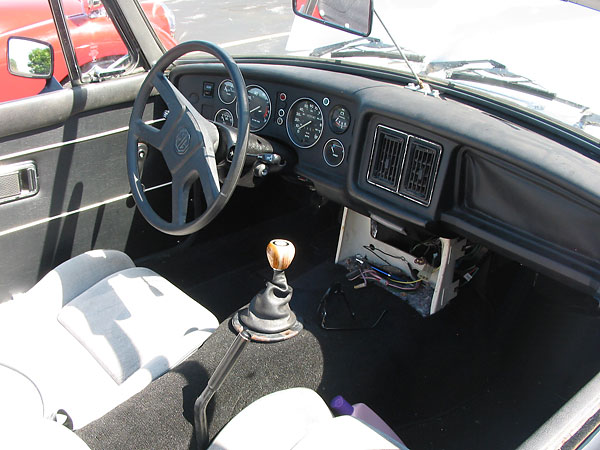
cars. The exception is the late model dash, which I have grown to appreciate.�
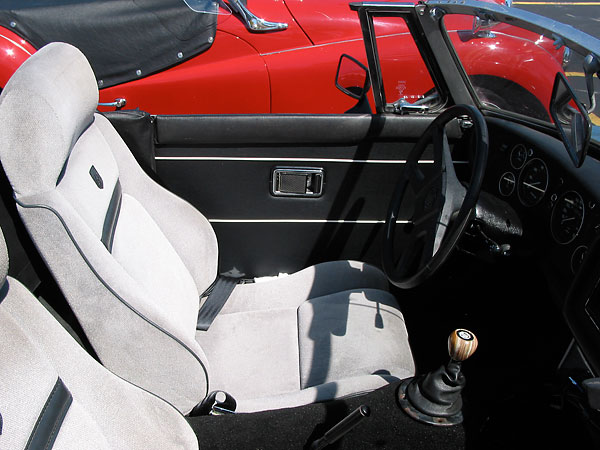
� I'm working to overcome many of these compromises. The top has already been � backdated. The earlier style top stows better, saves weight, and makes the car � more what I believe an LBC should be. The seats have been replaced with Pontiac � Fiero seats (I got a great deal!) although I really like the looks of the 62-67 � and the 68-69 seats. The panel kit has been replaced with 68-69 type striped � panels from Moss. (They're a direct fit.) � � Driving in traffic is a pain. I mean, you'll really miss not being able to � overtake Granny in her station wagon. Not. Seriously, passing is a blast! � Driving feels great. No power problems here. It's also fun to hit the stoplights. � The original car couldn't keep up with modern traffic. � � Fuel injection in the 3.4L iron head provides fantastic low and mid range torque. � The power rating of 160 BHP does not seem high but the 200 pounds of torque � will surprise most. Unlike the original MGB B-series engine, the 3.4L V6 has a � fairly wide and flat power band. I prefer to shift at about 5500 RPM, but the � majority of the power drops off about 5,000 RPM. � � This is why I prefer the wide ratio V6 T5 with a 3.42 rear axle ratio: you can � take full advantage of the power band produced by this engine.� � No harm has come to this car as a result of this engine conversion. Since � retrofitting back to a four-banger and four-speed would be easy, a purist � might almost approve. The only bodyshell modification was a single 2 1/8" � hole, drilled in the firewall behind the engine for engine wiring. (The � engine controller is mounted above the passenger's feet.)� � We have built a number of these and they are a blast to drive. Since we build � them, of course we are going to recommend them. My advice: drive one yourself. � You'll be hooked!� | �

�
 �
�
How It Was Done:
��
�
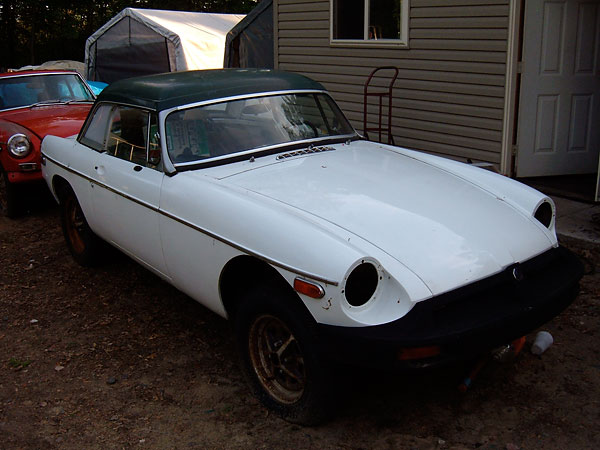
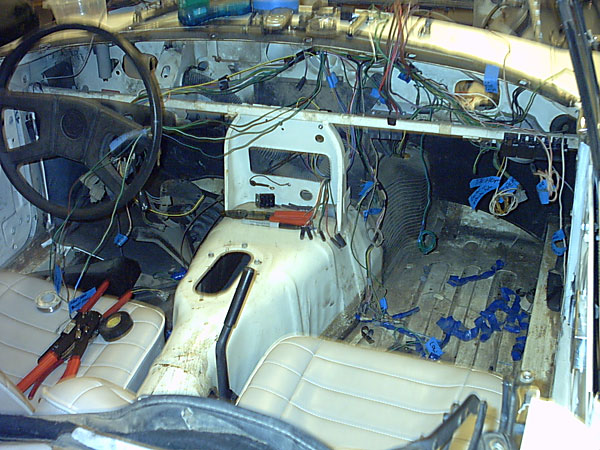
The "Before Picture"
�
�
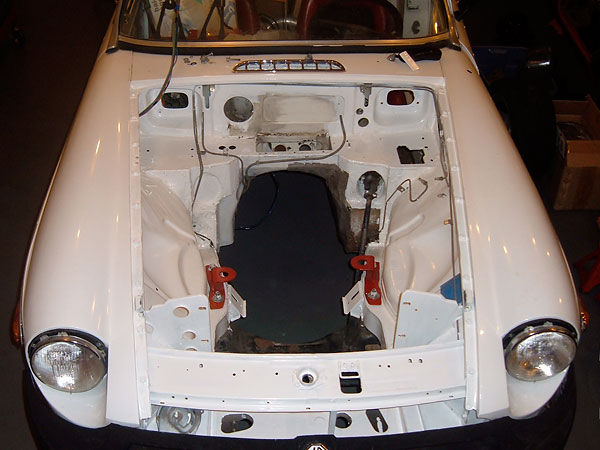
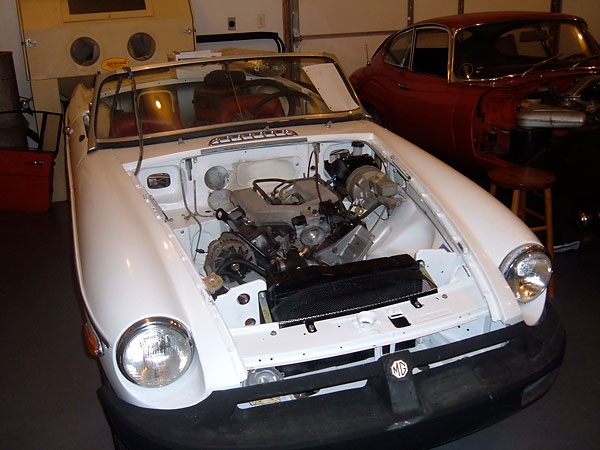
Late model MGB motor mounts don't conflict with Classic Conversions Engineering bolt-in mounts.
�
The later model MGB radiator location and firewall also provide enough room, without modification.
�
�
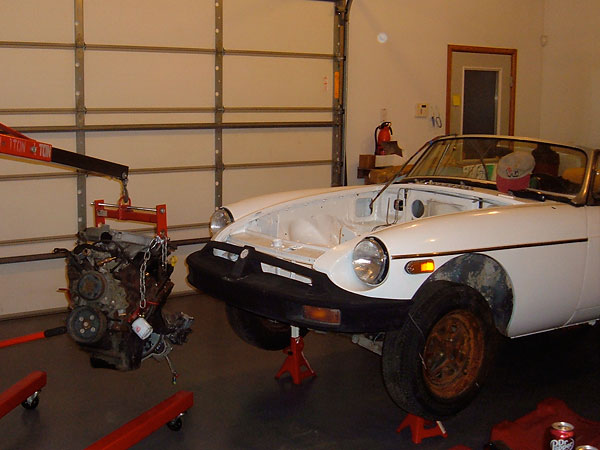
As a practical matter, the engine goes in and out several times in the conversion process.
�
A roll-about engine hoist with a "leveler" accessory is a great help.
�
�
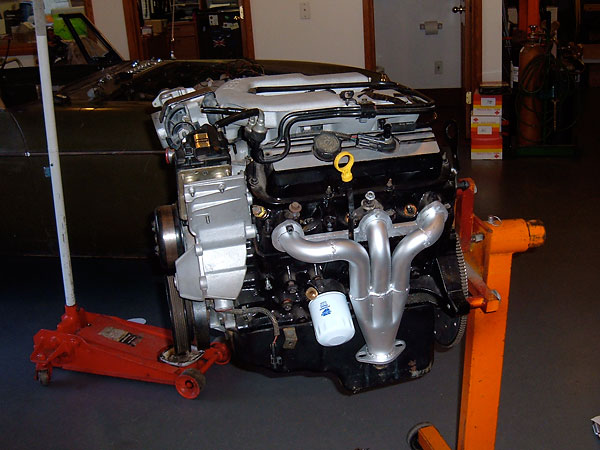
Brian's display engine, showing off new second-generation Classic Conversions headers.
�
�
�
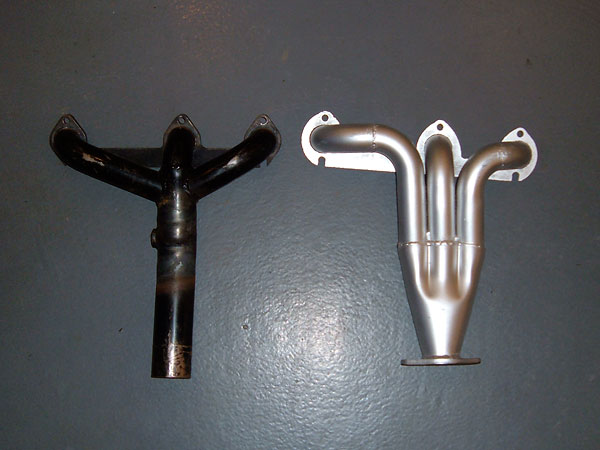
Just for reference: first and second generation CCE headers compared.
�
�
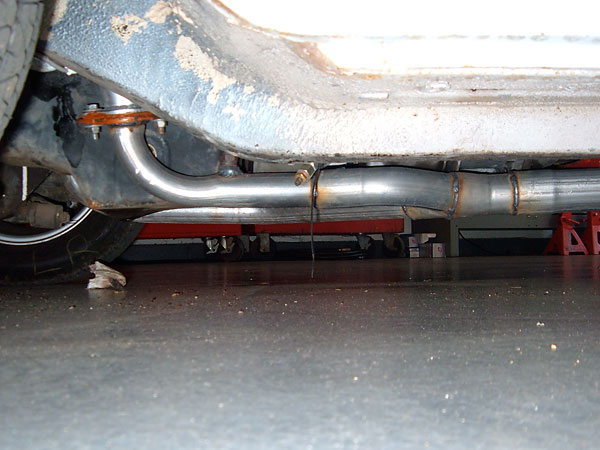
Purpose-built y-pipe. Note the oxygen sensor which is required for the fuel injection system.
�
�
Enjoying this article? Our magazine is funded through the generous support of readers like you!
�
To contribute to our operating budget, please click here and follow the instructions.
�
(Suggested contribution is twenty bucks per year. Feel free to give more!)�
�
�
�
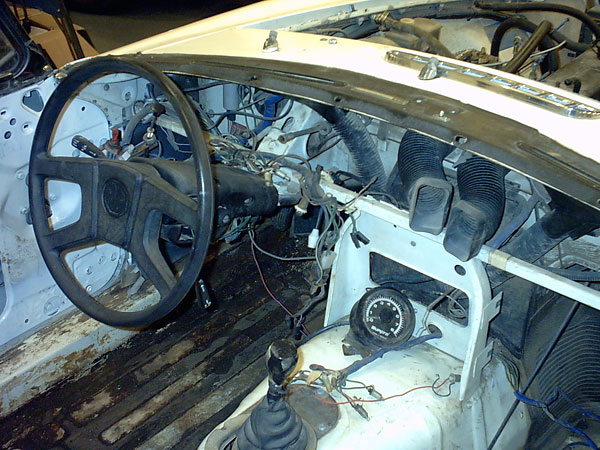
A "before picture" of the dashboard wiring.
�
�
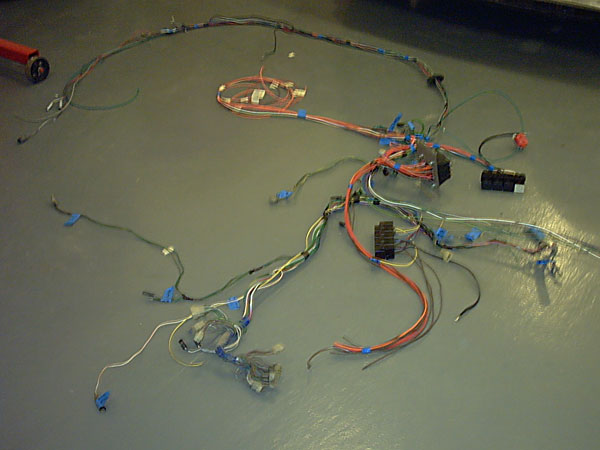
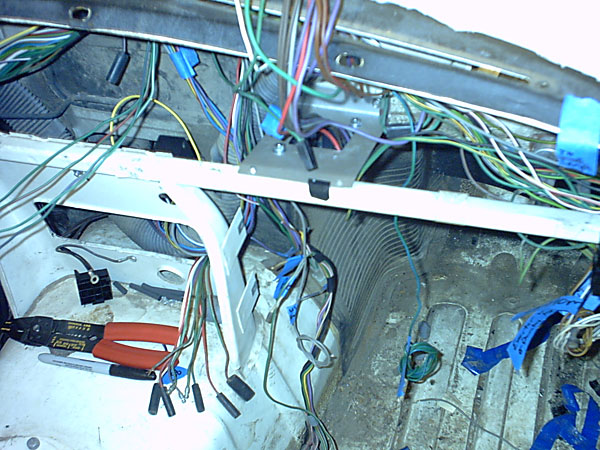
The complete new wiring system.
�
�
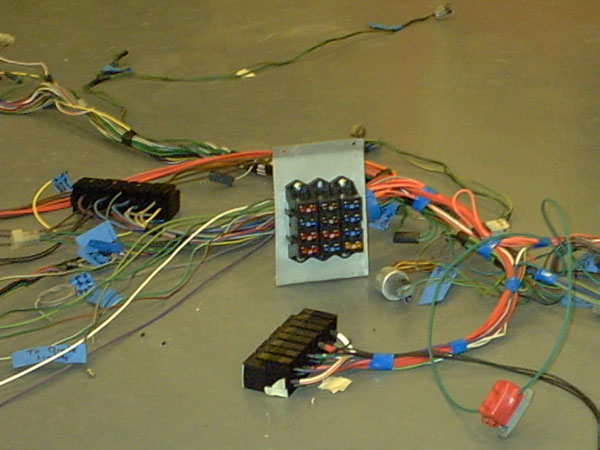
The new fuse block, on a purpose-built bracket. Note also the two blocks of relays.
�
�
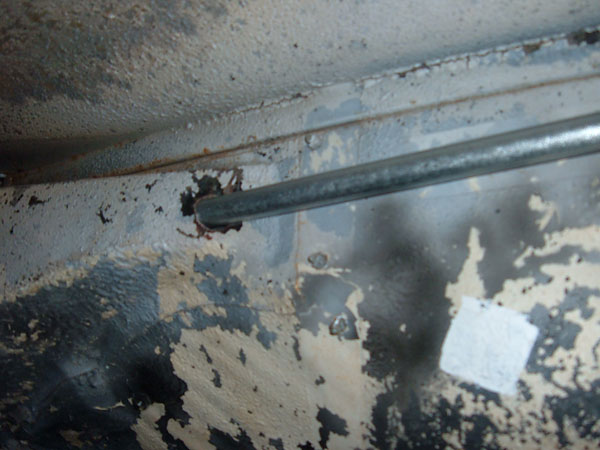
Steel conduit was used to protect wiring under the passenger-side fender.
�

�
�
�
Here's a close-up view of the fuse block bracket, as installed.
�
�
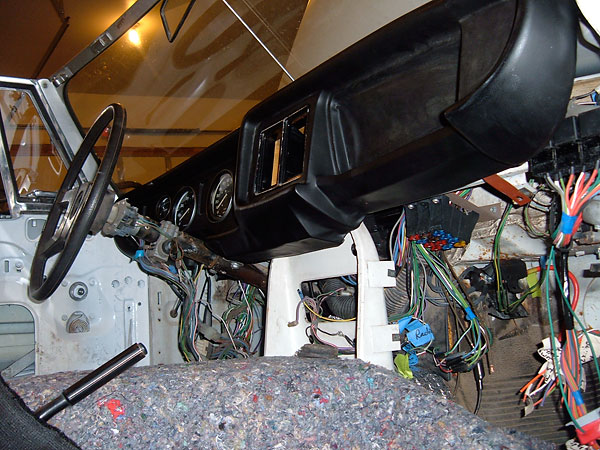
A brand new MGB dashboard!
�

�
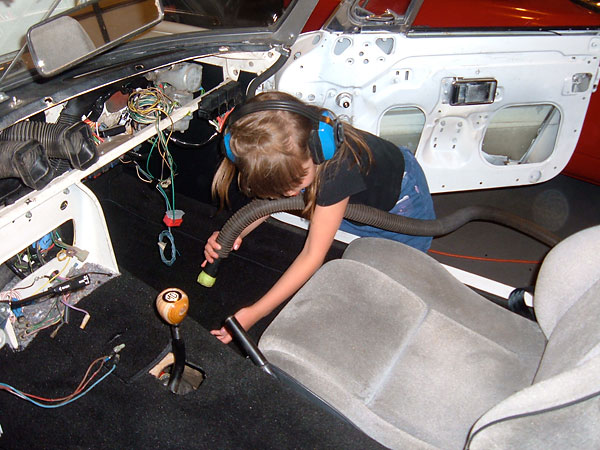
Skilled help has been called-in to help with carpet installation...
�
�
...and detailing of the carpet/upholstery.
�
The Completed Conversion:
��
�
�
�
�
�
�
�
�
�
�
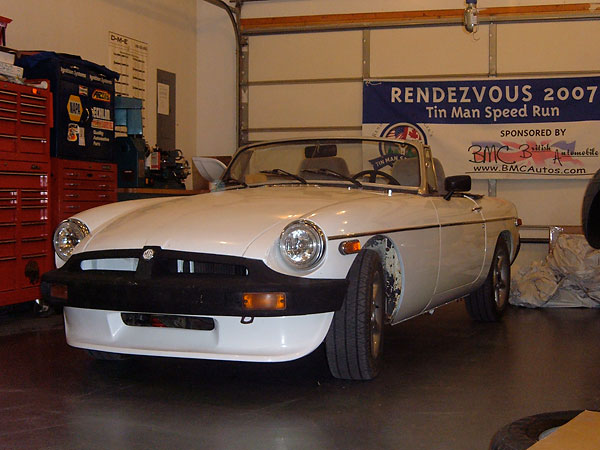
Newly installed Special Tuning air dam.
�
